Floor Surface Scans
Three hard surface scans: Finished concrete, chipped painted concrete, and a Porcelain tile floor. Each are tile-able materials and were were created using Substance Designer 6's new scanning nodes from photographs. I also explain some of the process involved in creating them.
Photos were taken in RAW format , adjusted, and cropped square in Lightroom, then exported as 4k 16bit Tiff.
Tiffs were imported to Designer and put into the scanning template. Images were then rendered in Marmoset.
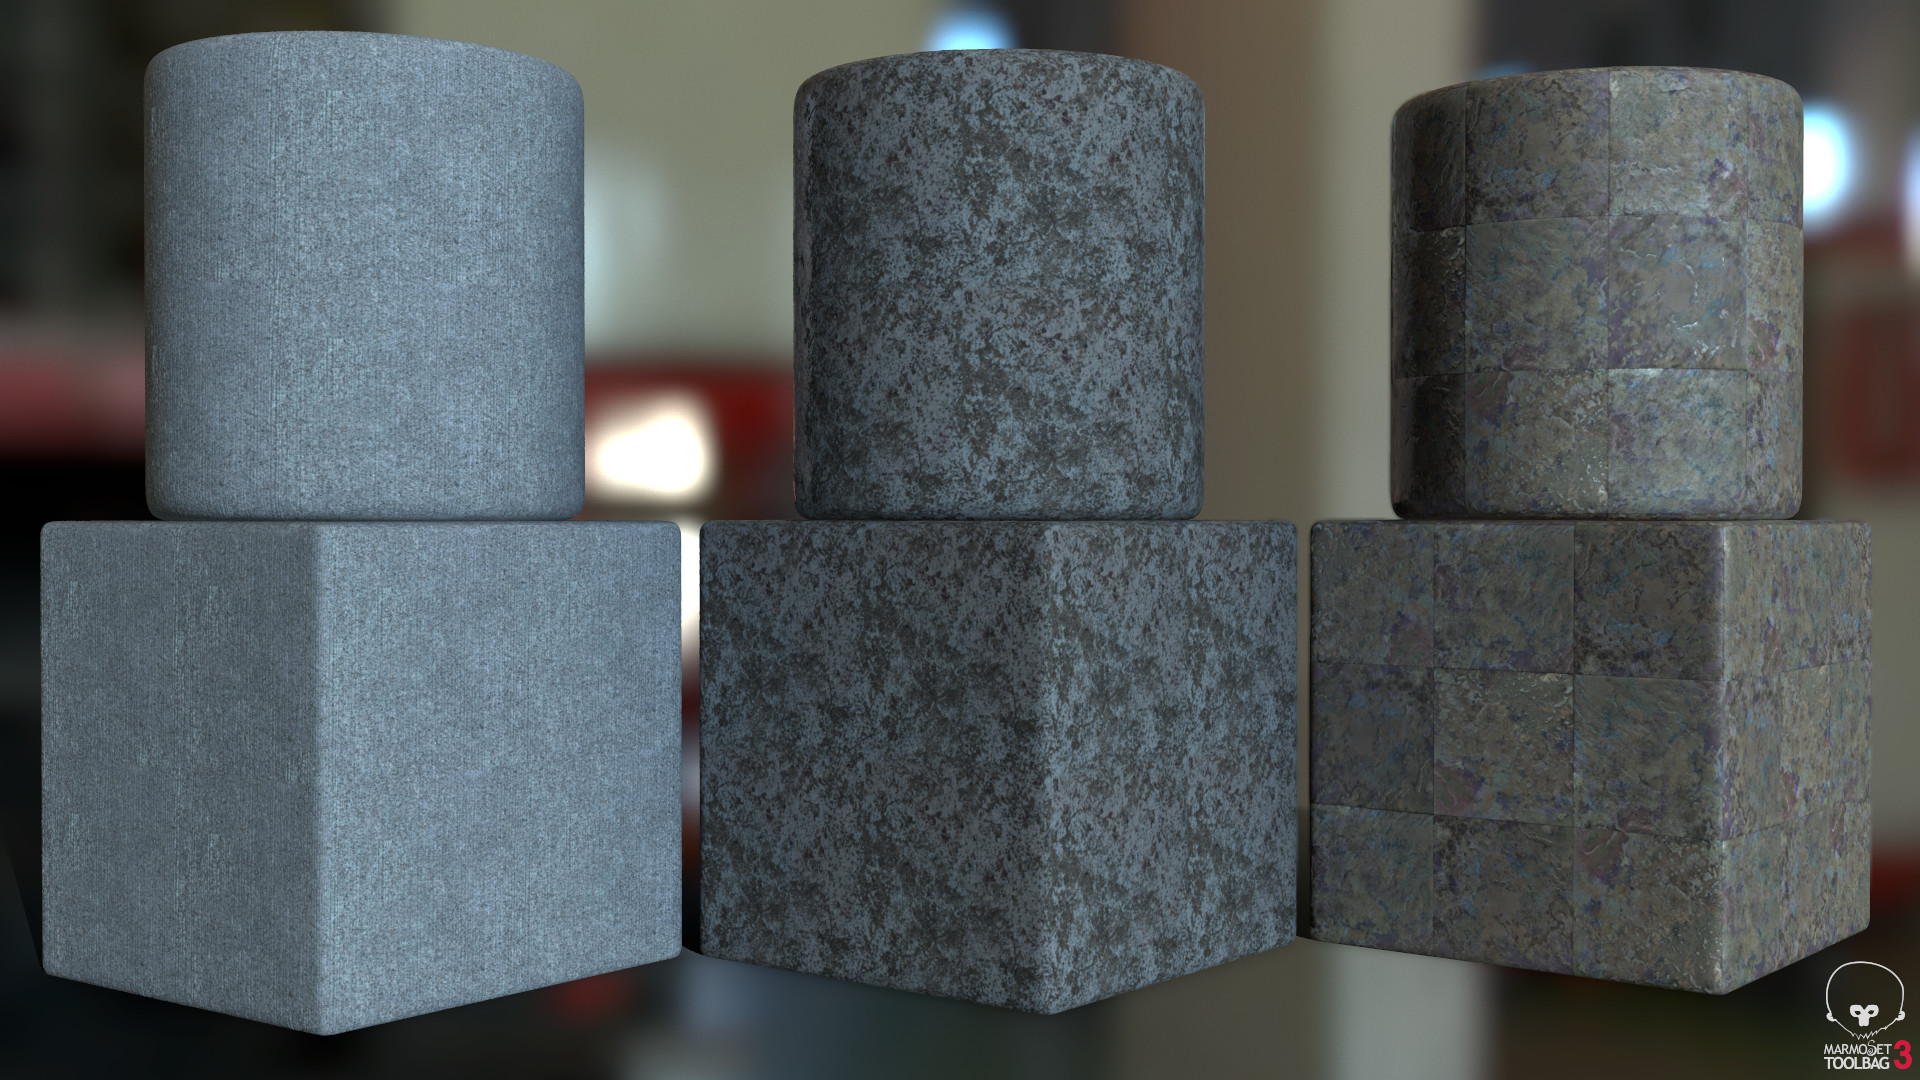
Materials are from the Left: Finished concrete, Chipped painted concrete, and Porcelain floor tile. Both concrete's are tiled 2x but the floor tile is tiled 1x here.
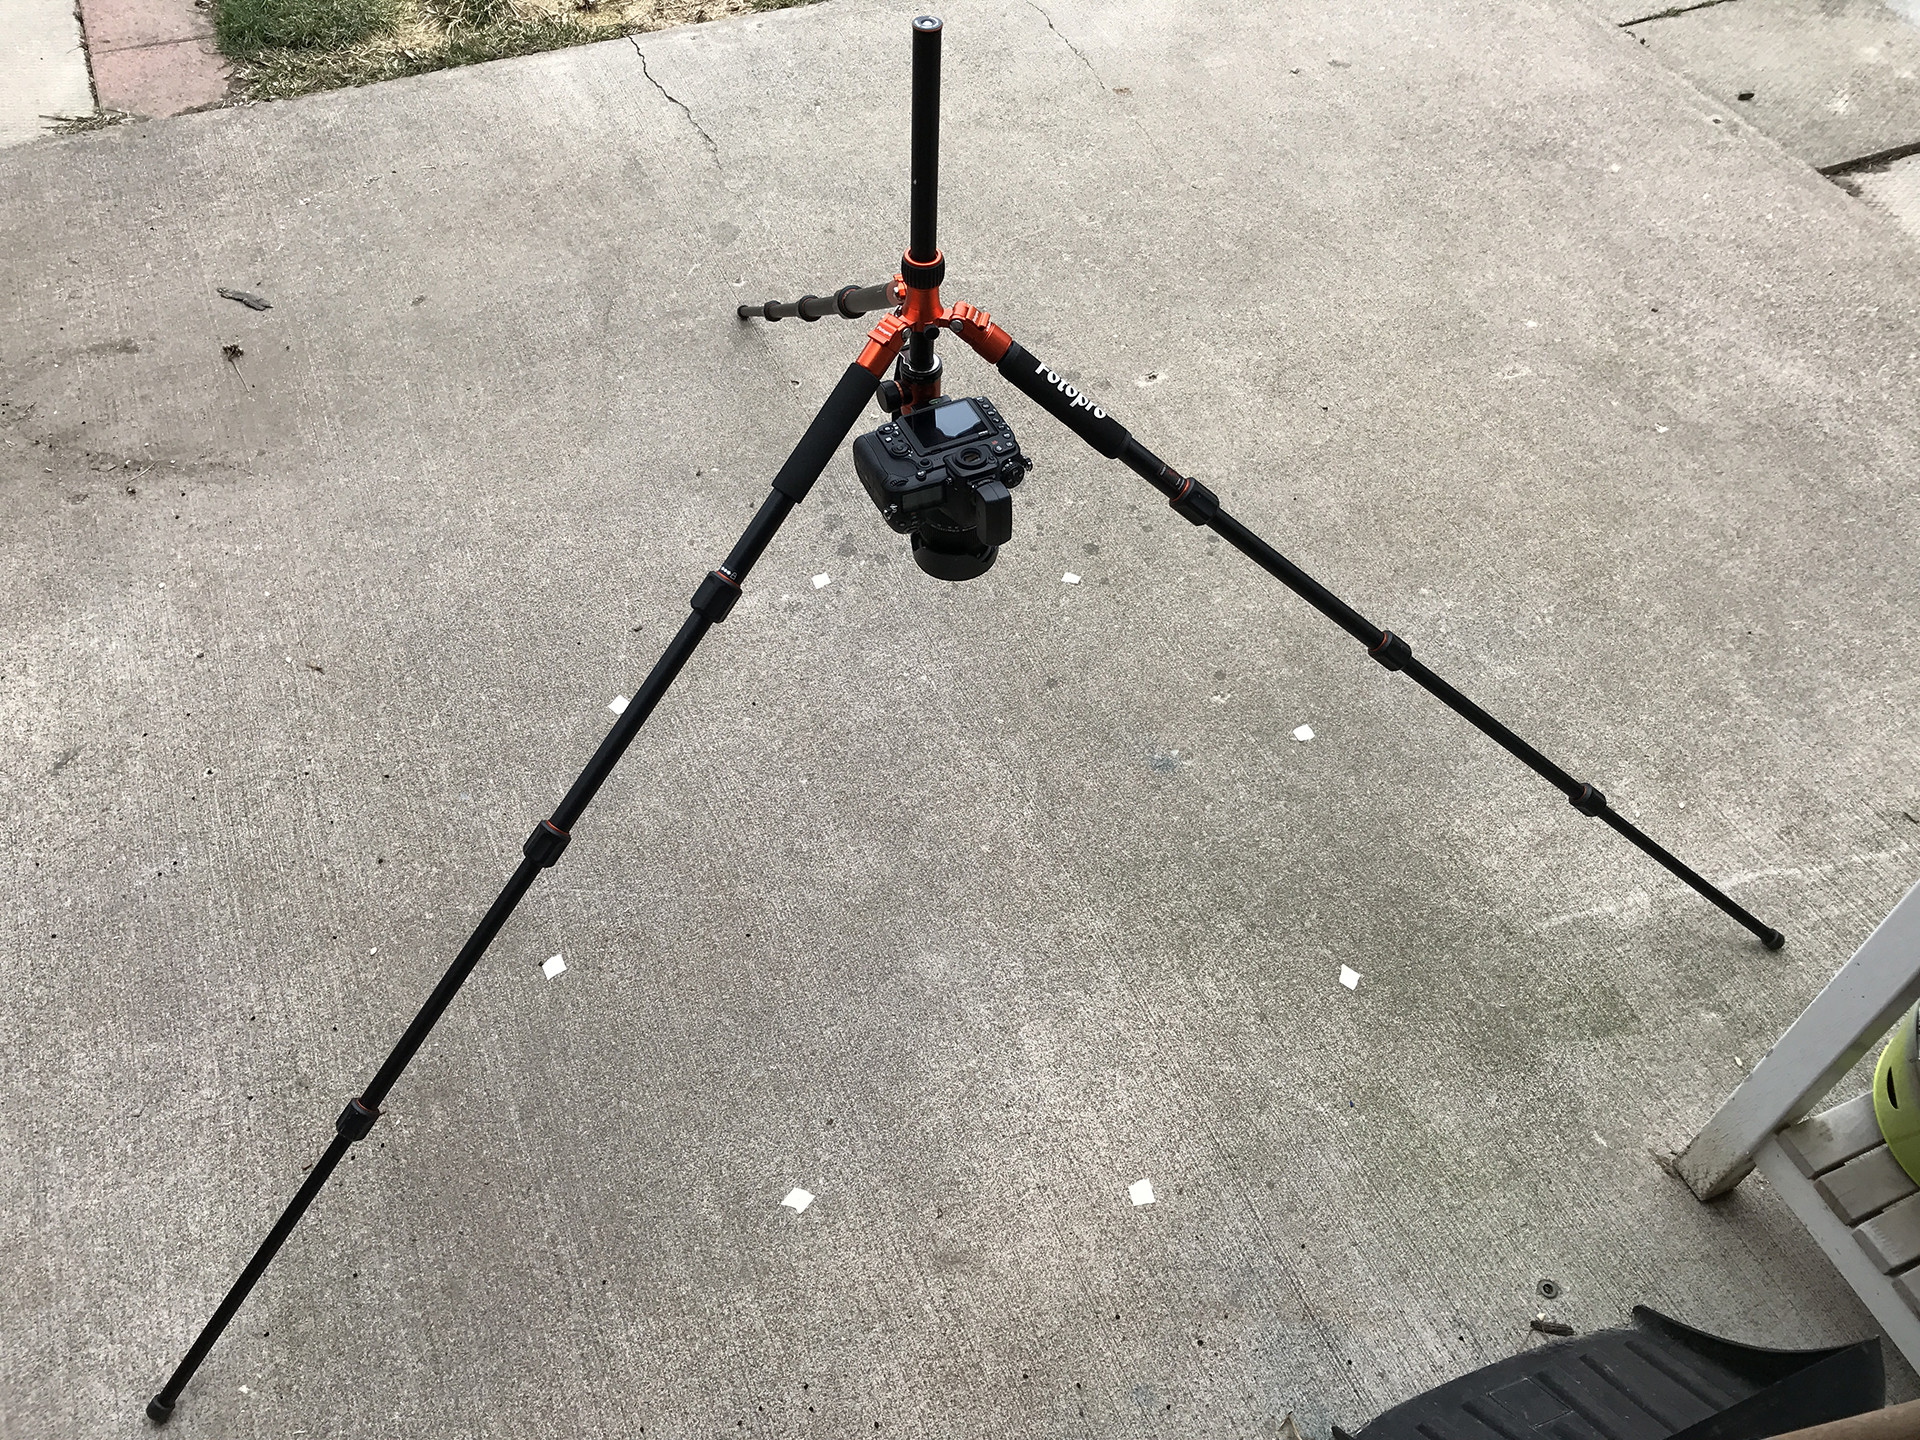
Setup in my backyard for the finished concrete. White squares are the locations to place the flash for each of the 8 images.
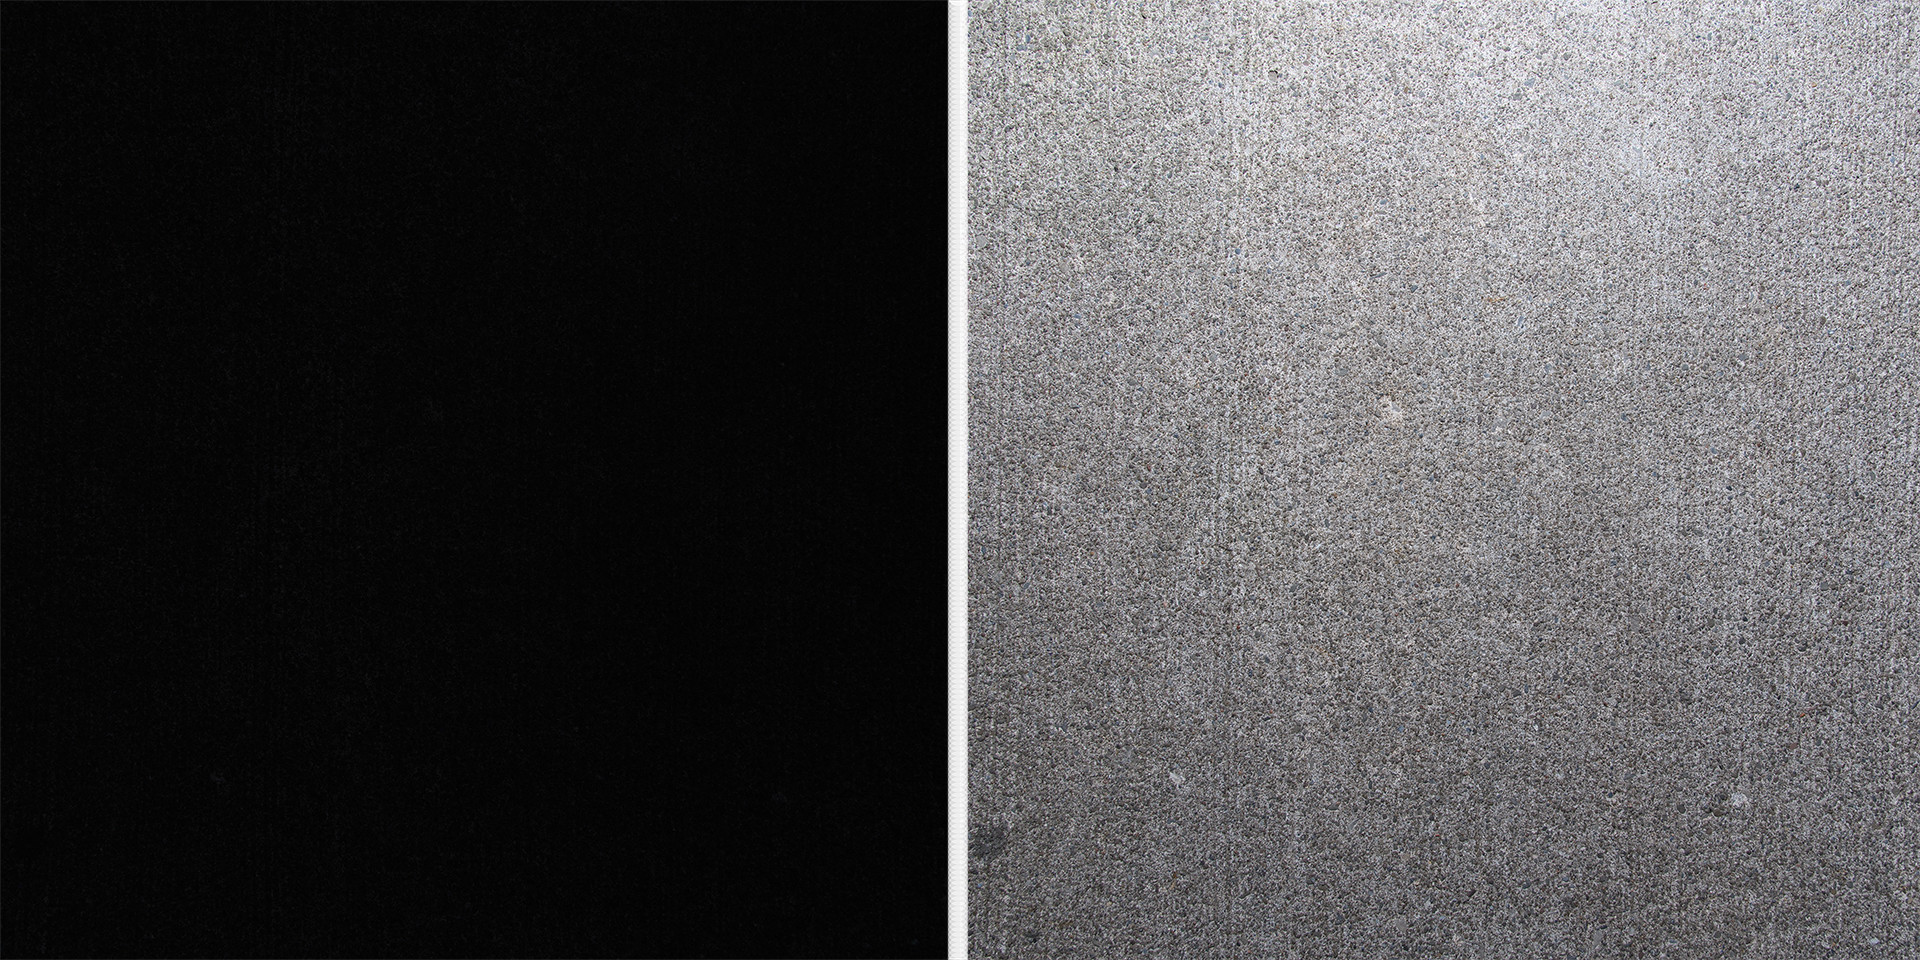
Example with and without flash. My camera was set to a aperture of f8, ISO 100, and Shutter @ 1/250. This allowed me to cancel out almost all daylight on a overcast day and use the flash setting to get the right exposure.
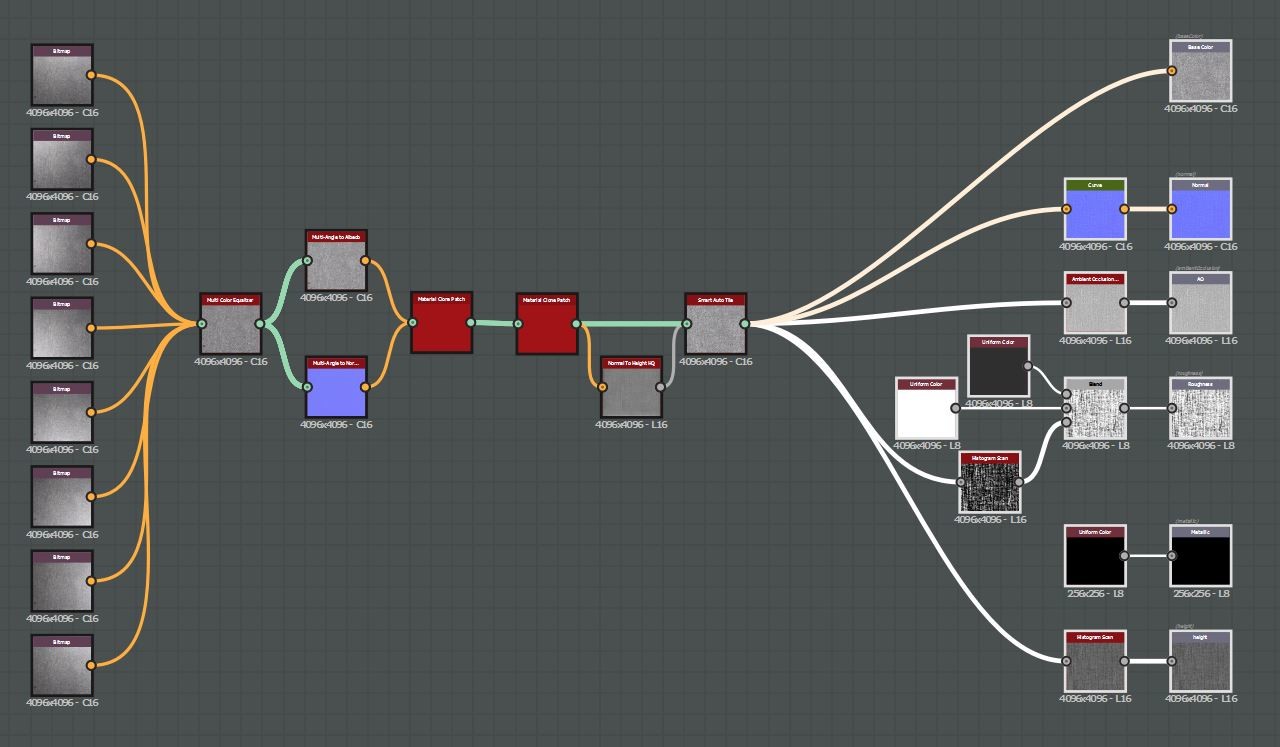
Here's what the node graph looks like for both concrete materials.
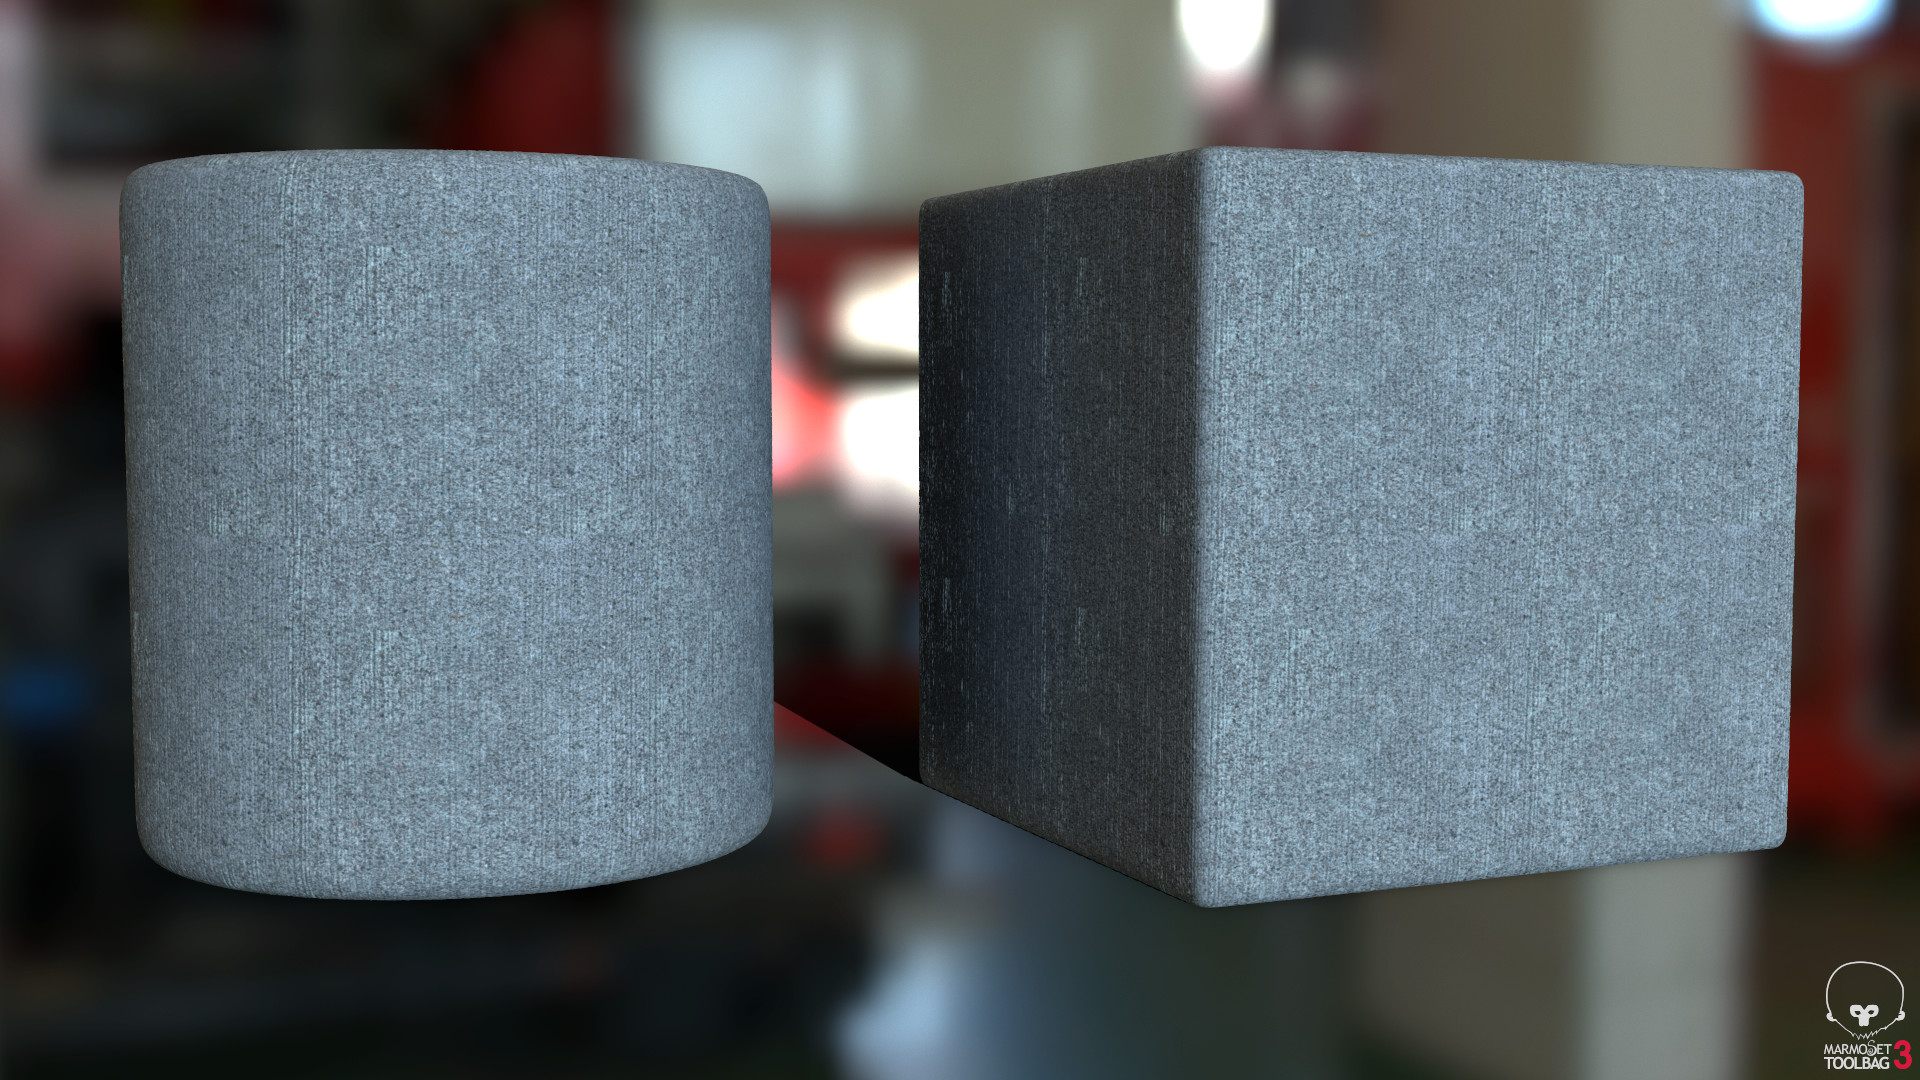
Tiled 2x
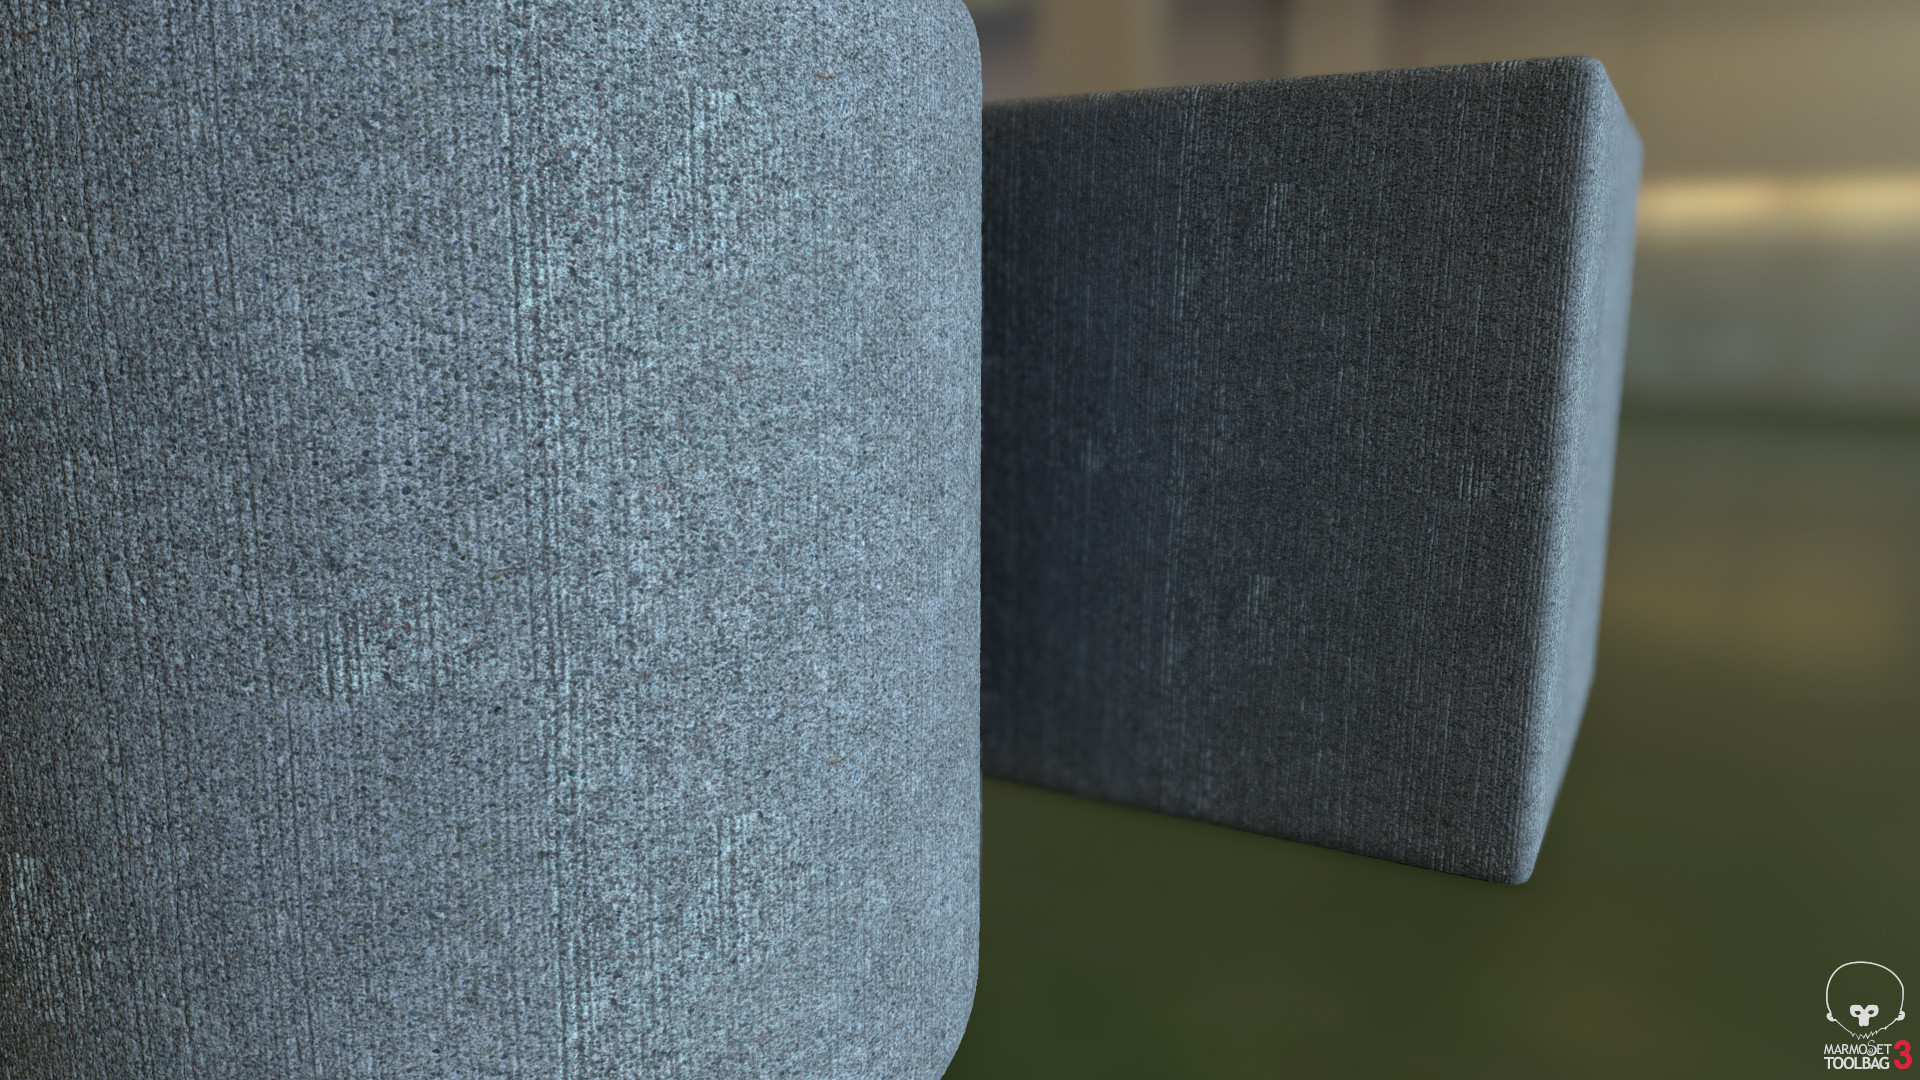
Tiled 2x
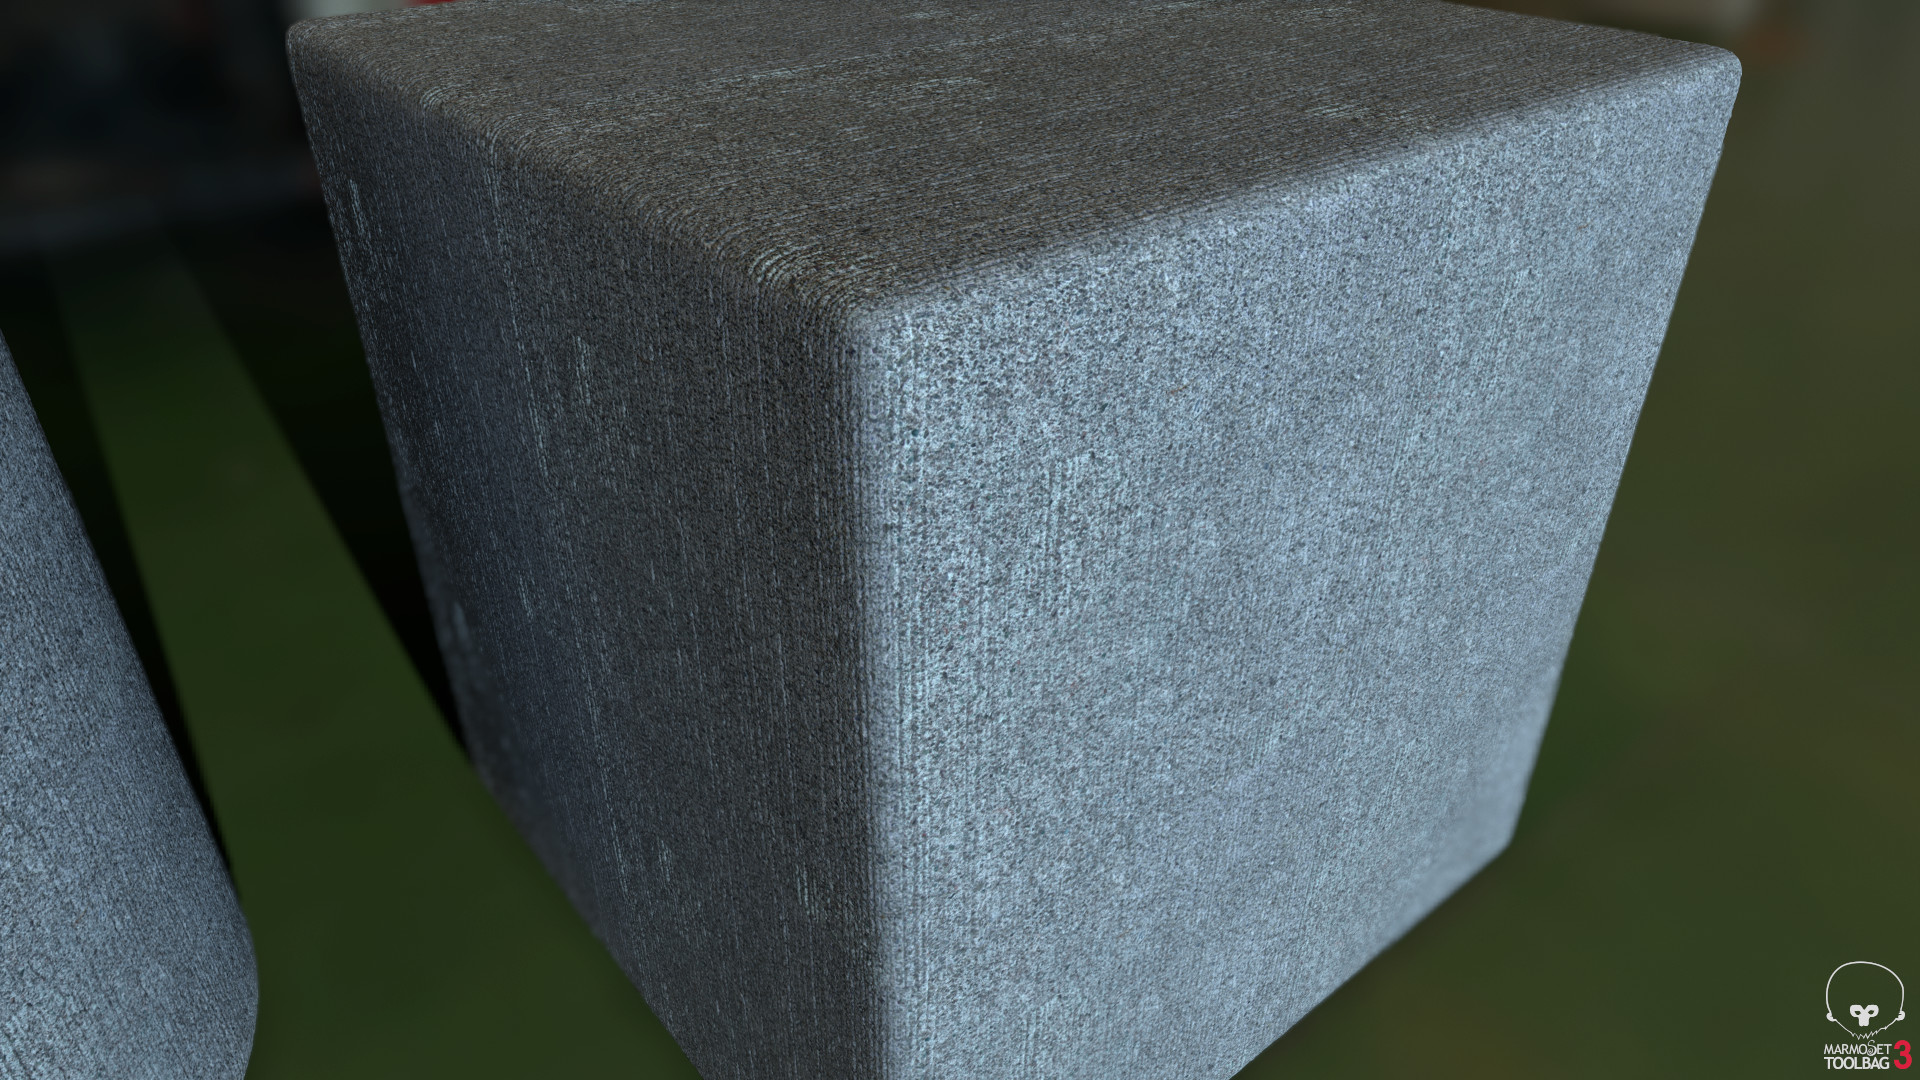
Tiled 2x
Finished Concrete tiled 2x
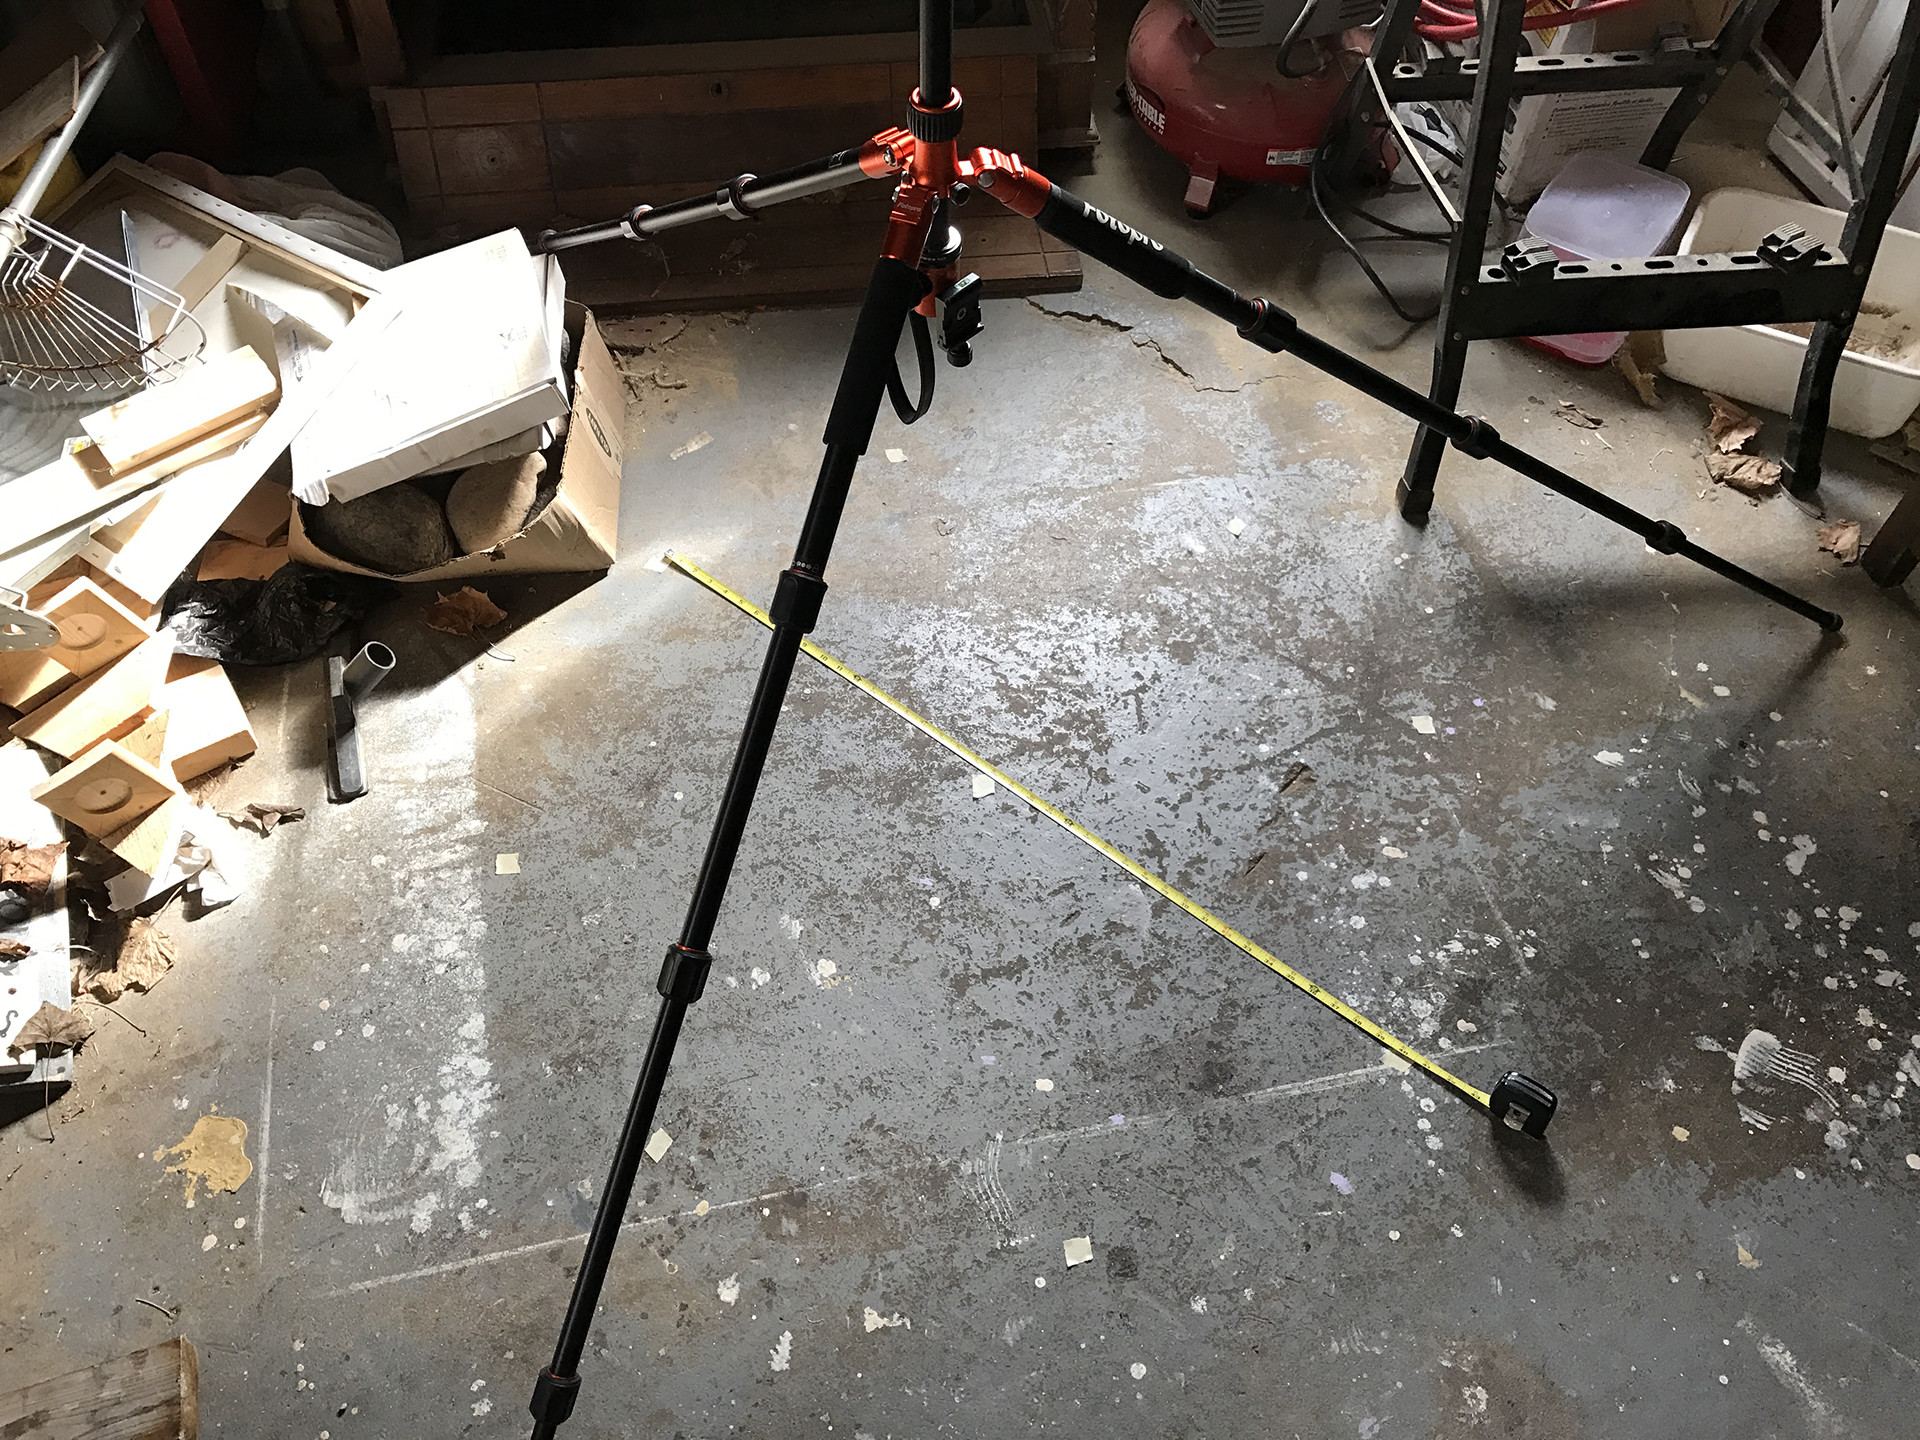
Setting up to capture the chipped painted cement floor in my garage. Tape measure is to make sure the flash locations are equal. Had to try to find a spot that didn't have any features that would make tiling difficult.
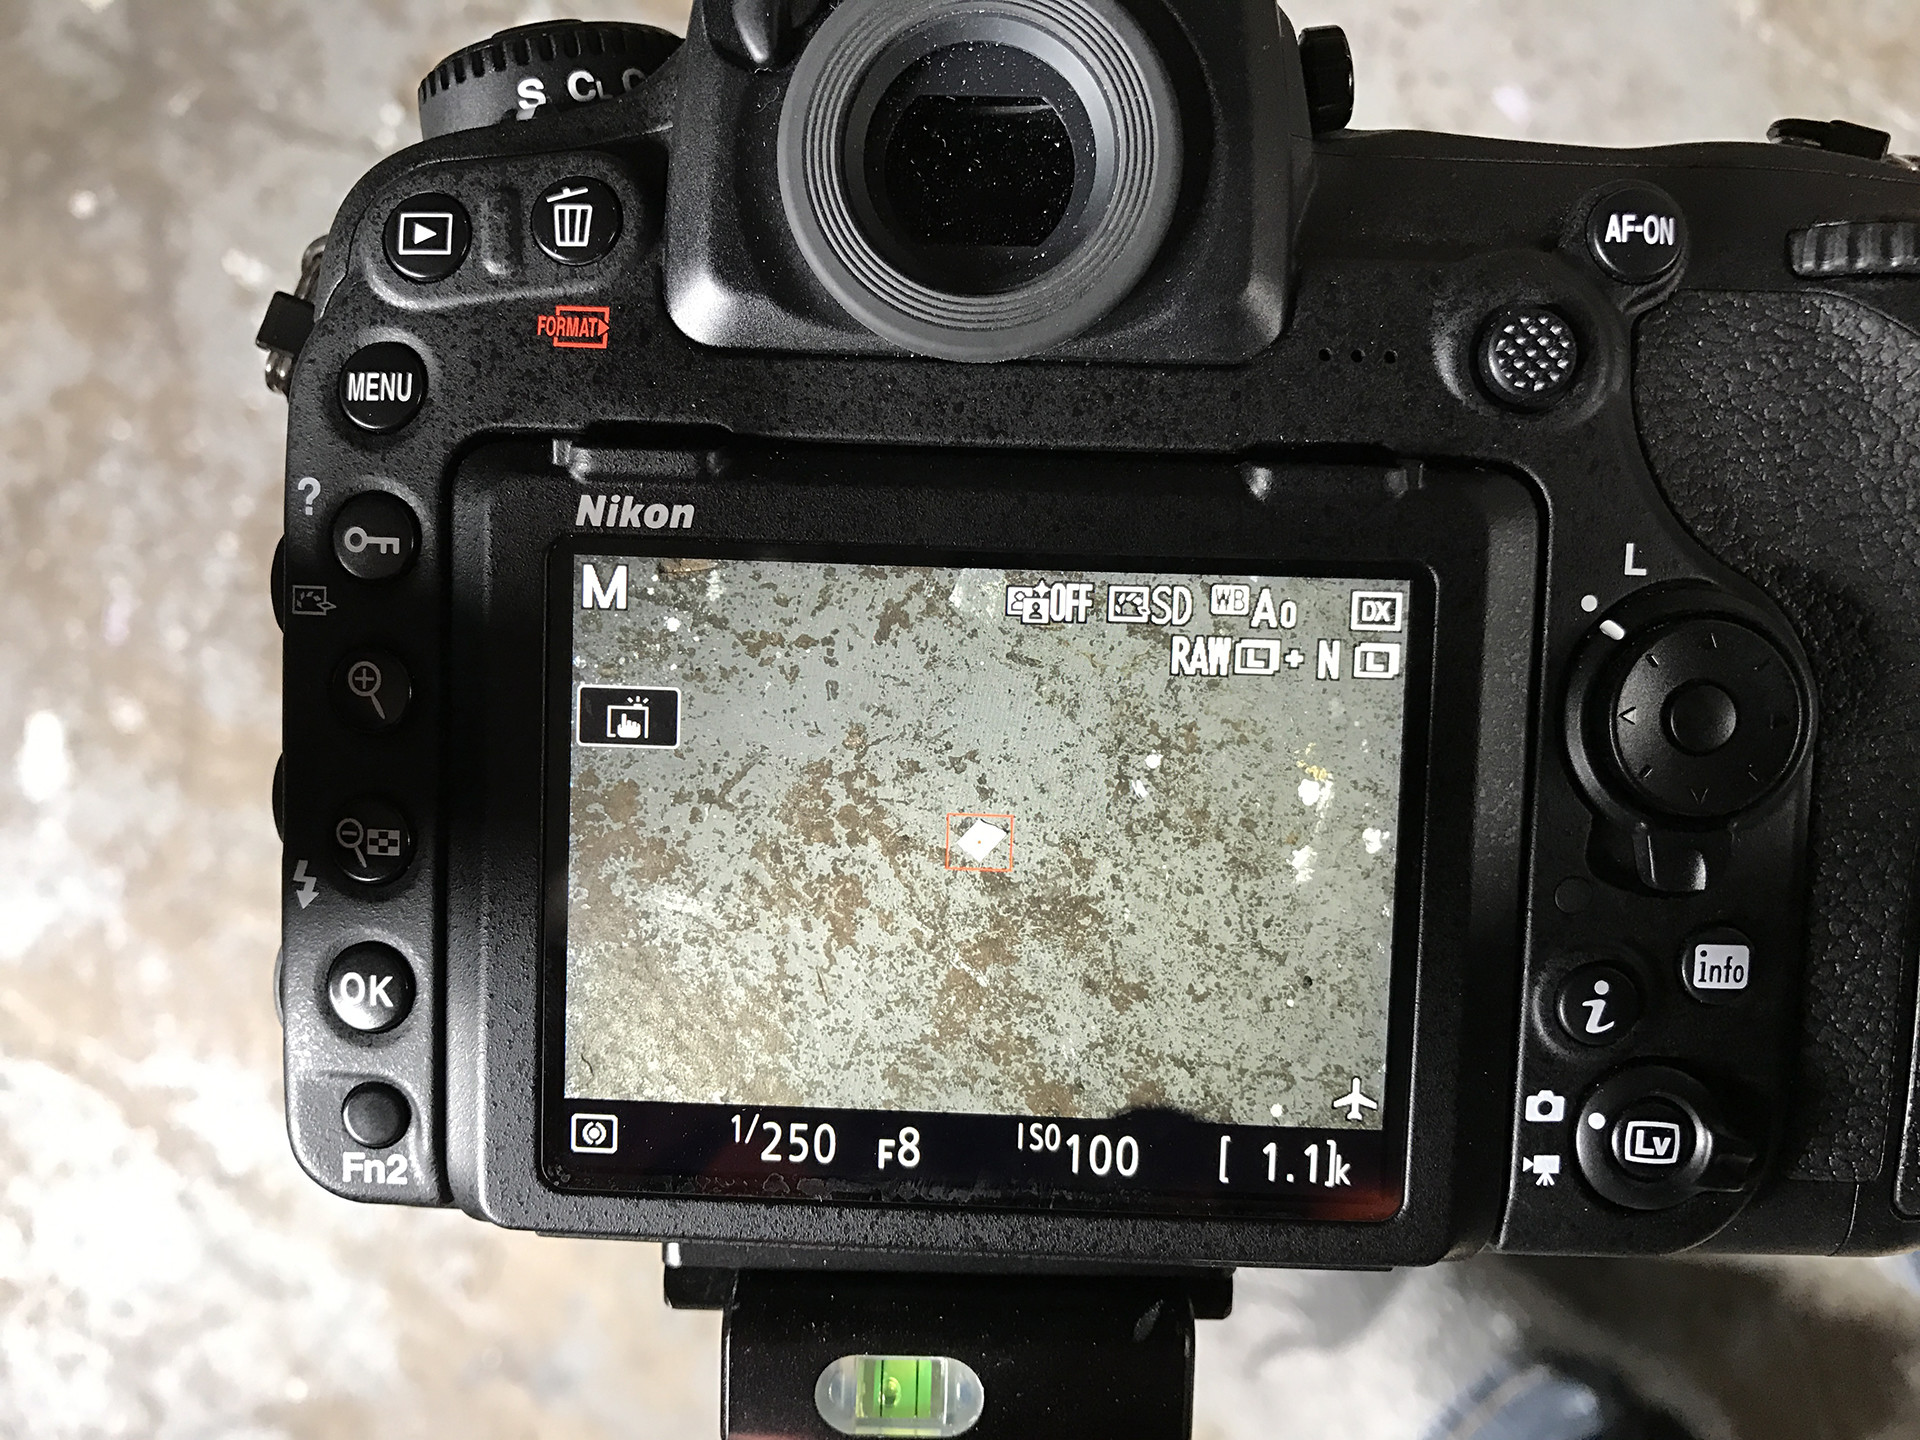
That it looks like behind the camera. These images are processed and only the center section gets used when cropped square.
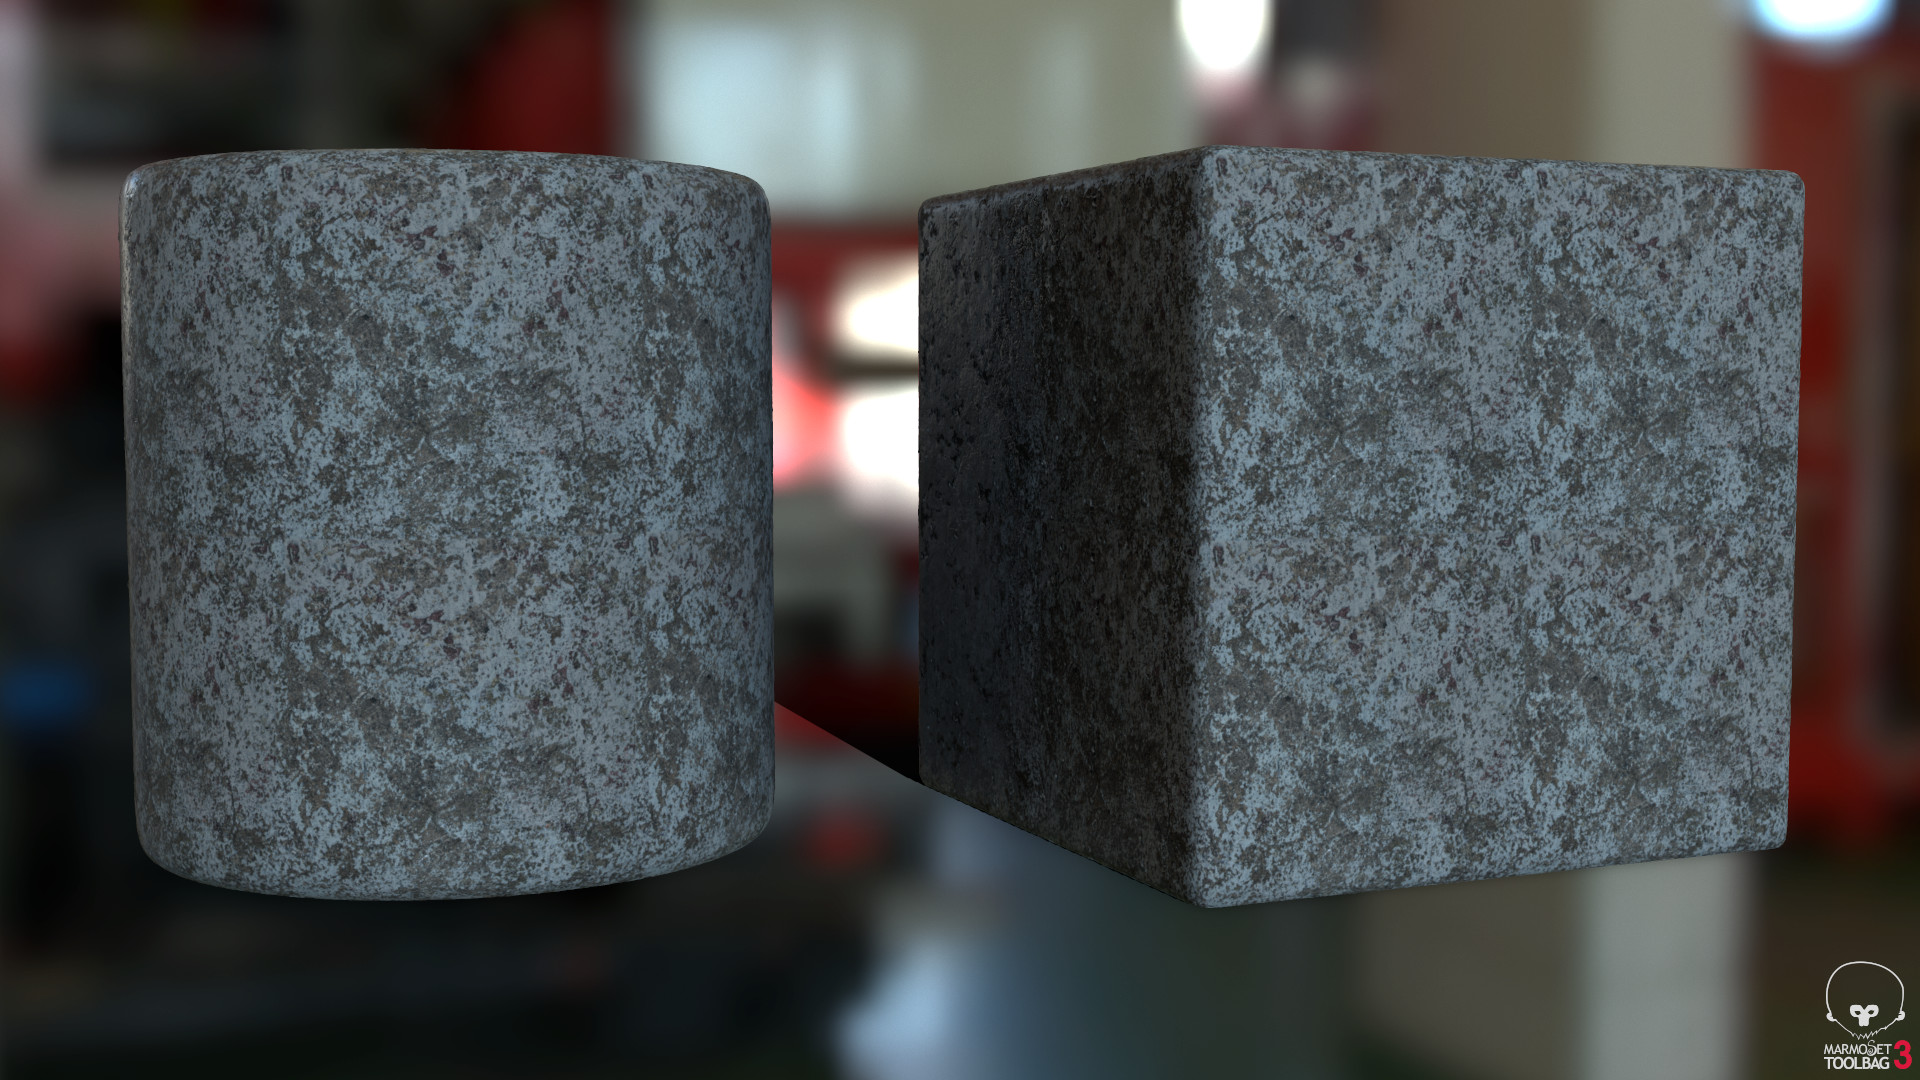
2x tiled
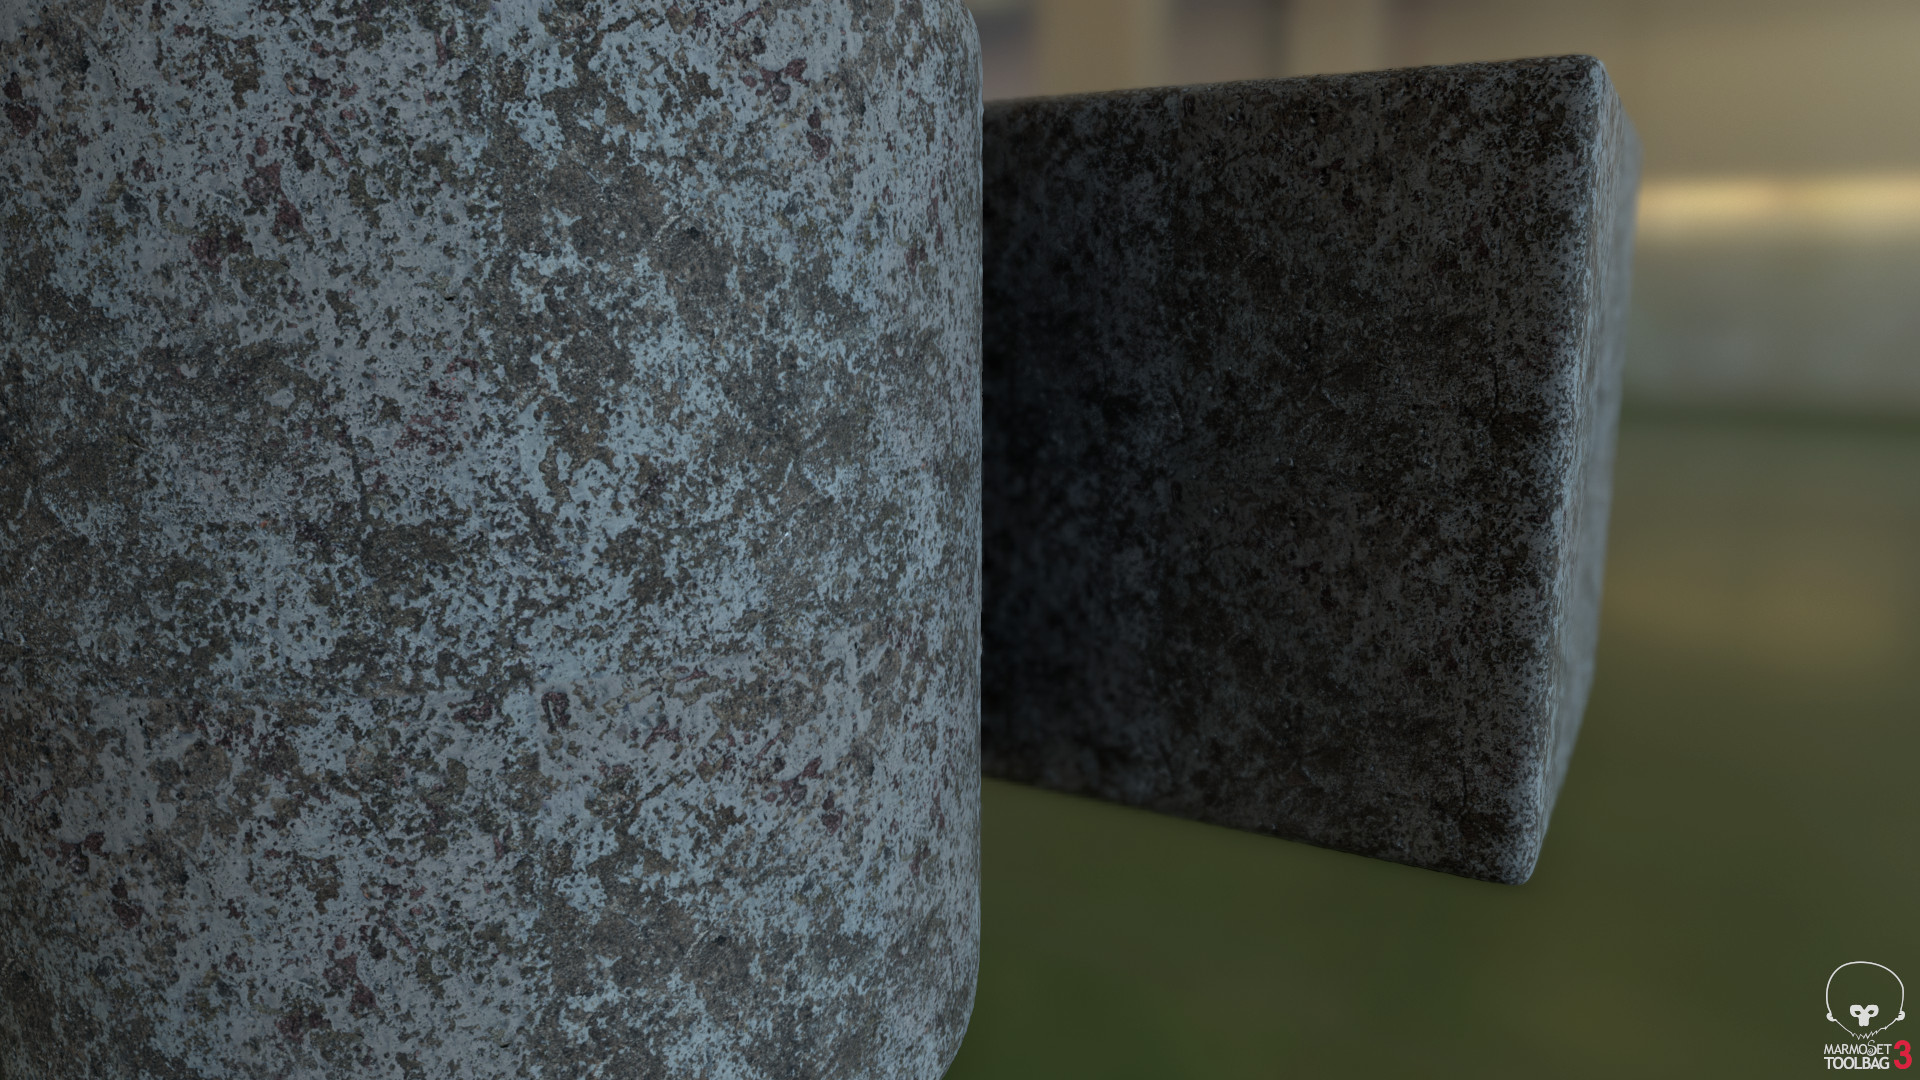
2x tiled
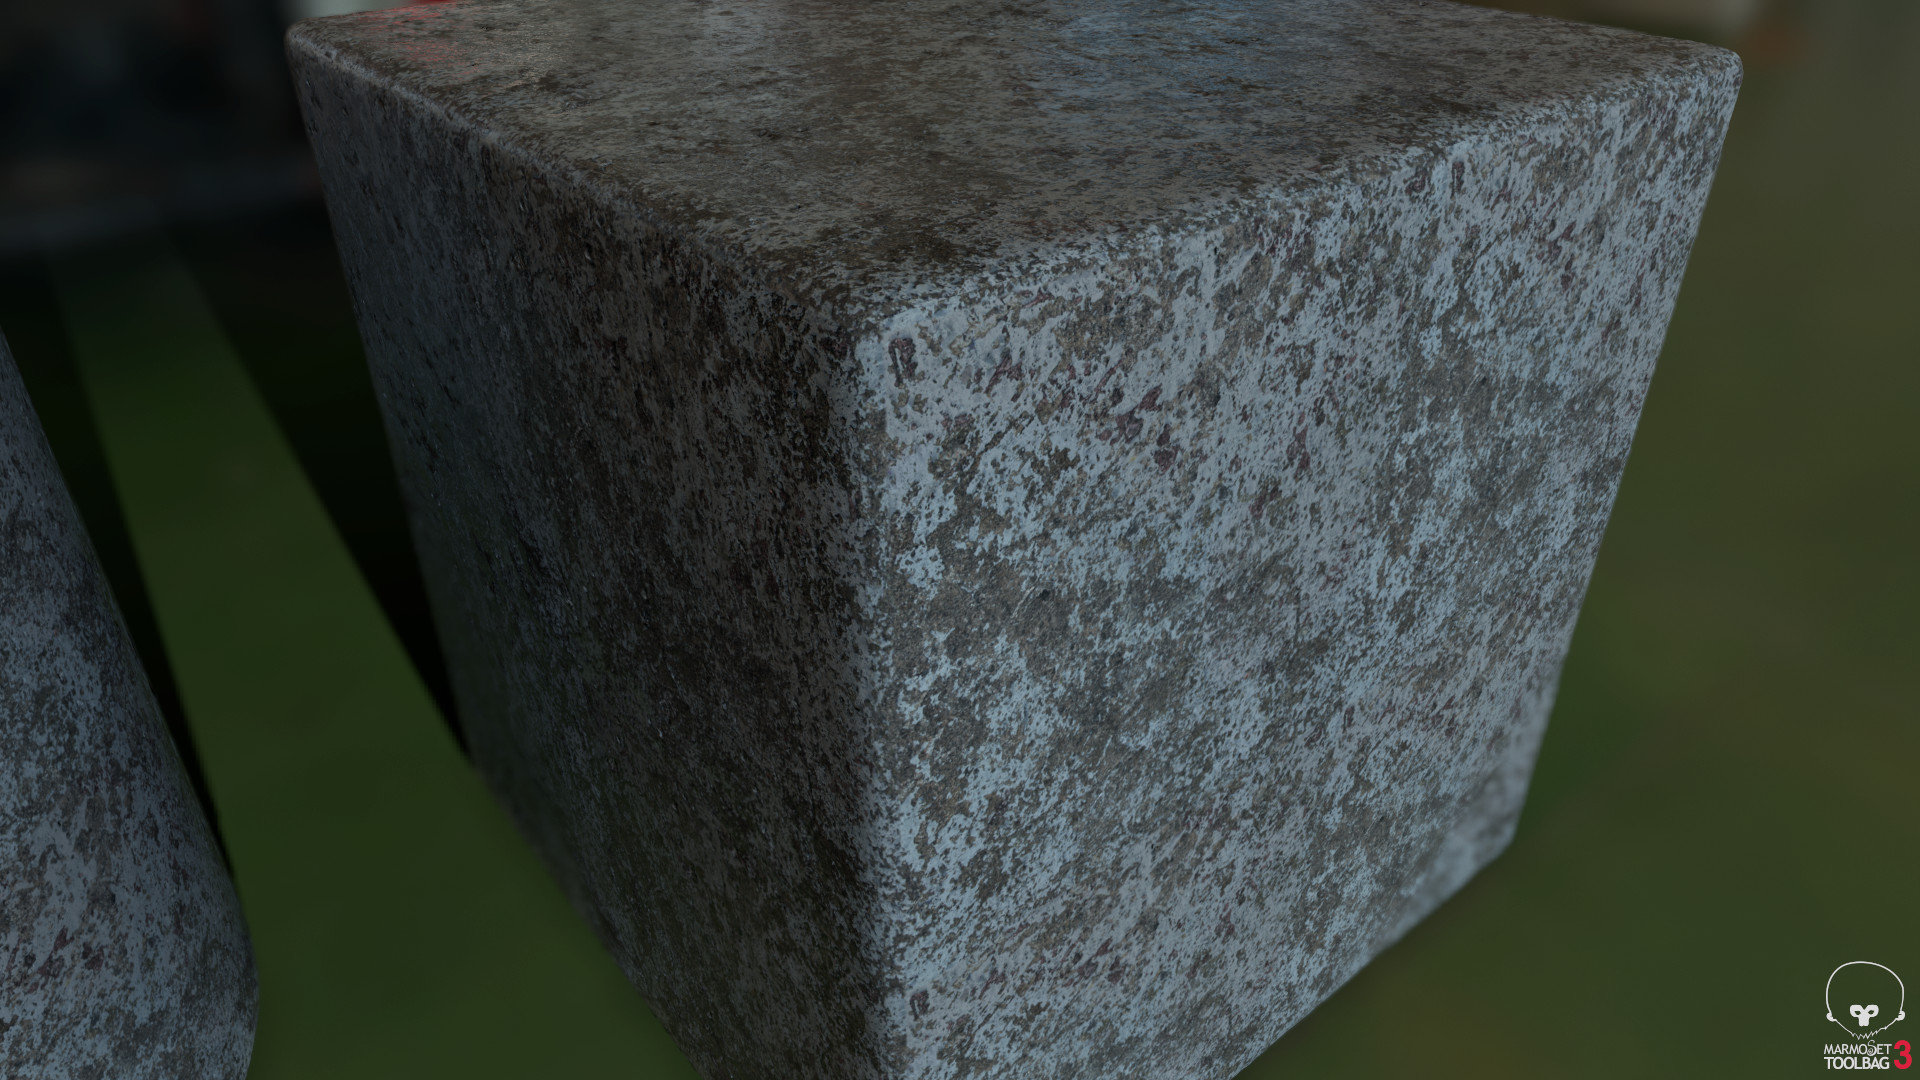
2x tiled
Chipped Painted Concrete tiled 2x
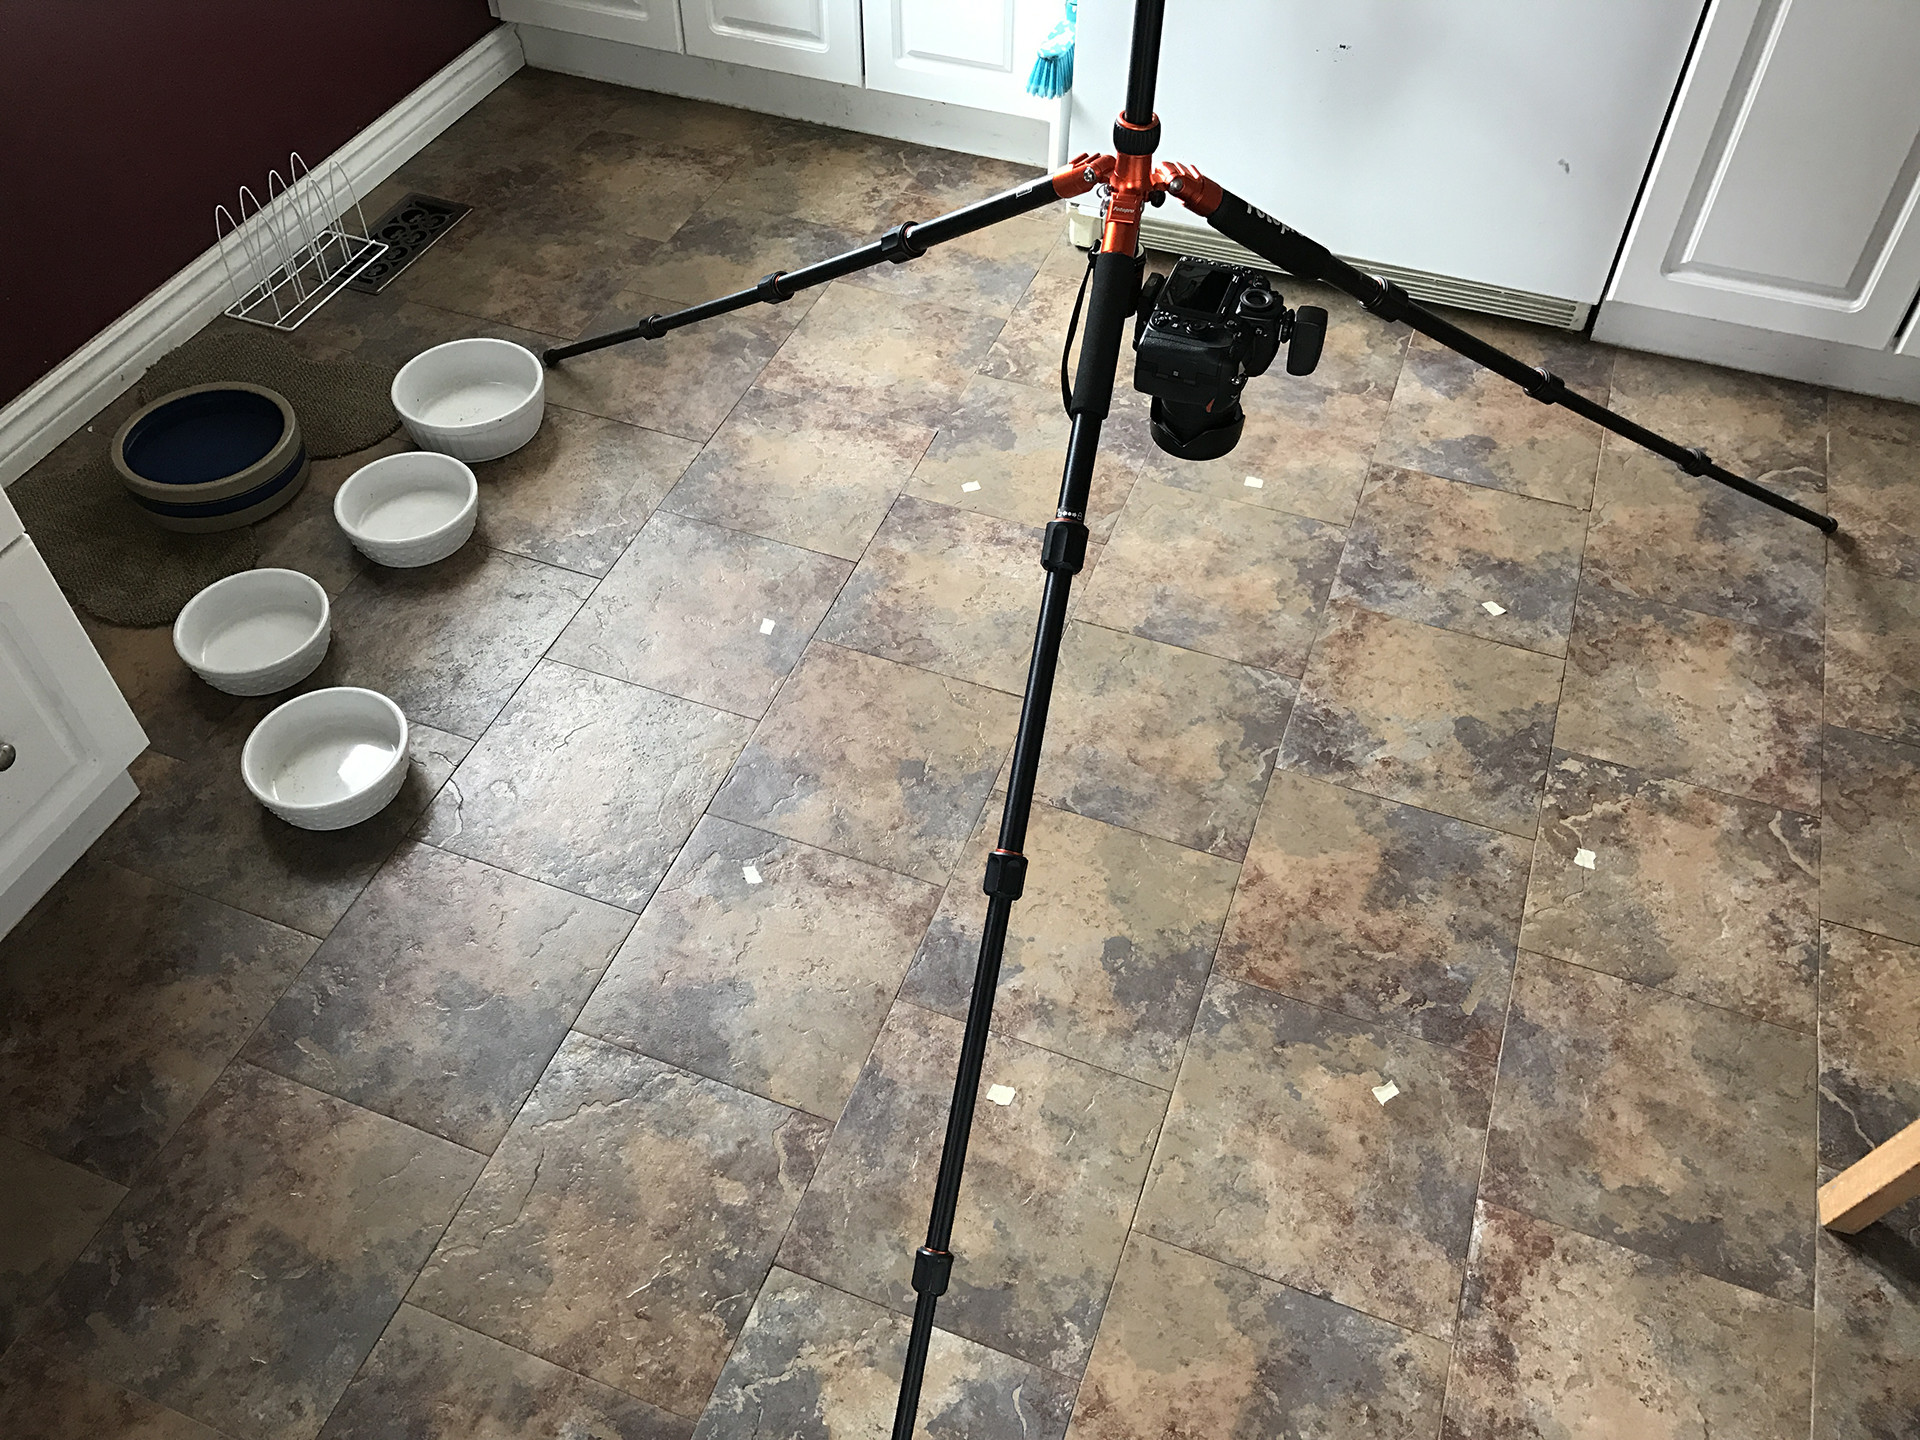
Getting ready to capture my kitchen floor tile. I captured 3 different tiles to build the material.

For each of the three tiles there's one sub-graph that just combines the images into their normal and base colour.
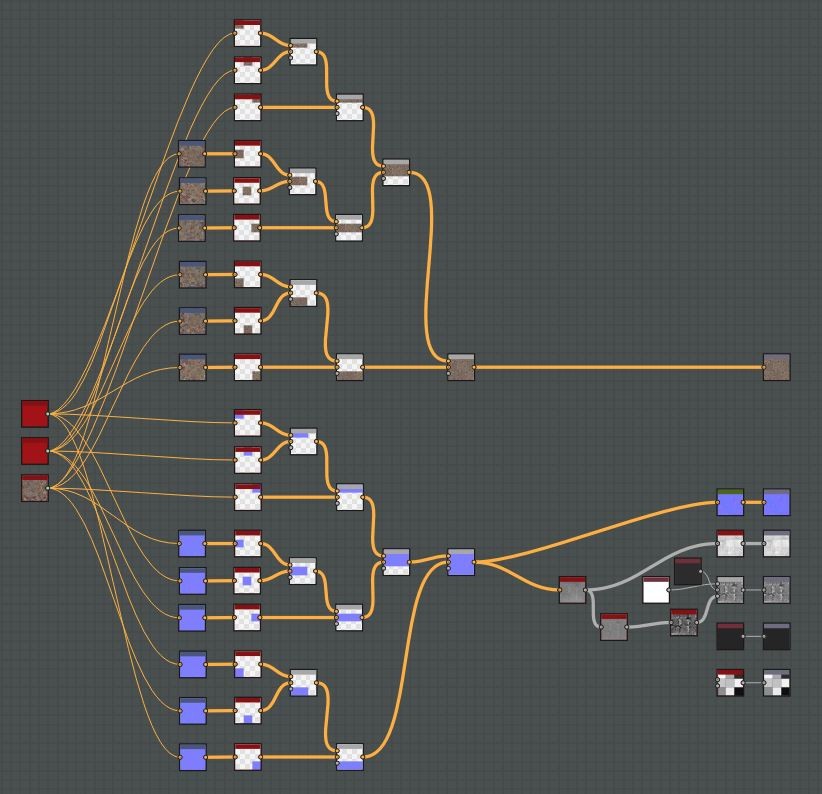
Then to build the material each of the three sub-graph are brought in to build a 3x3 grid. The tiles are moved into place and rotated to try and make a random pattern.
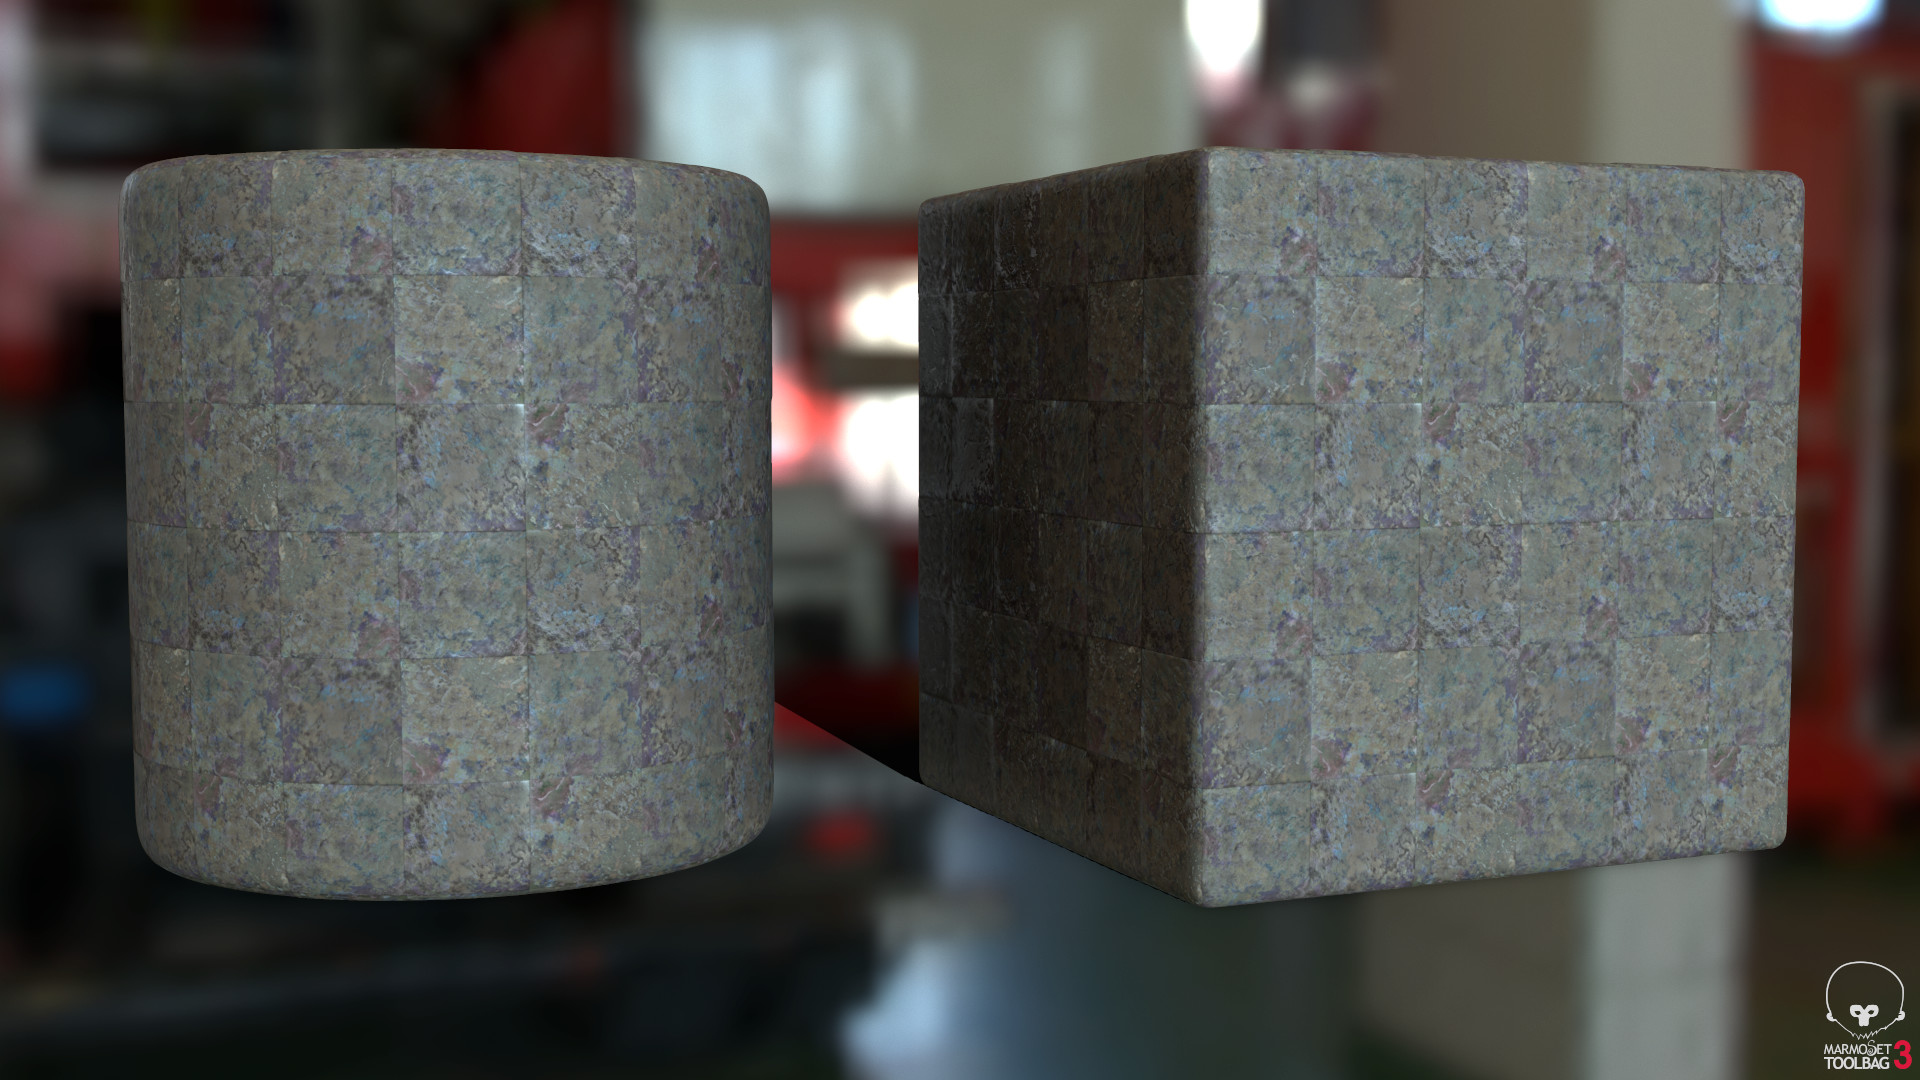
Here's the grid tiled 2x

Here's the grid tiled 2x
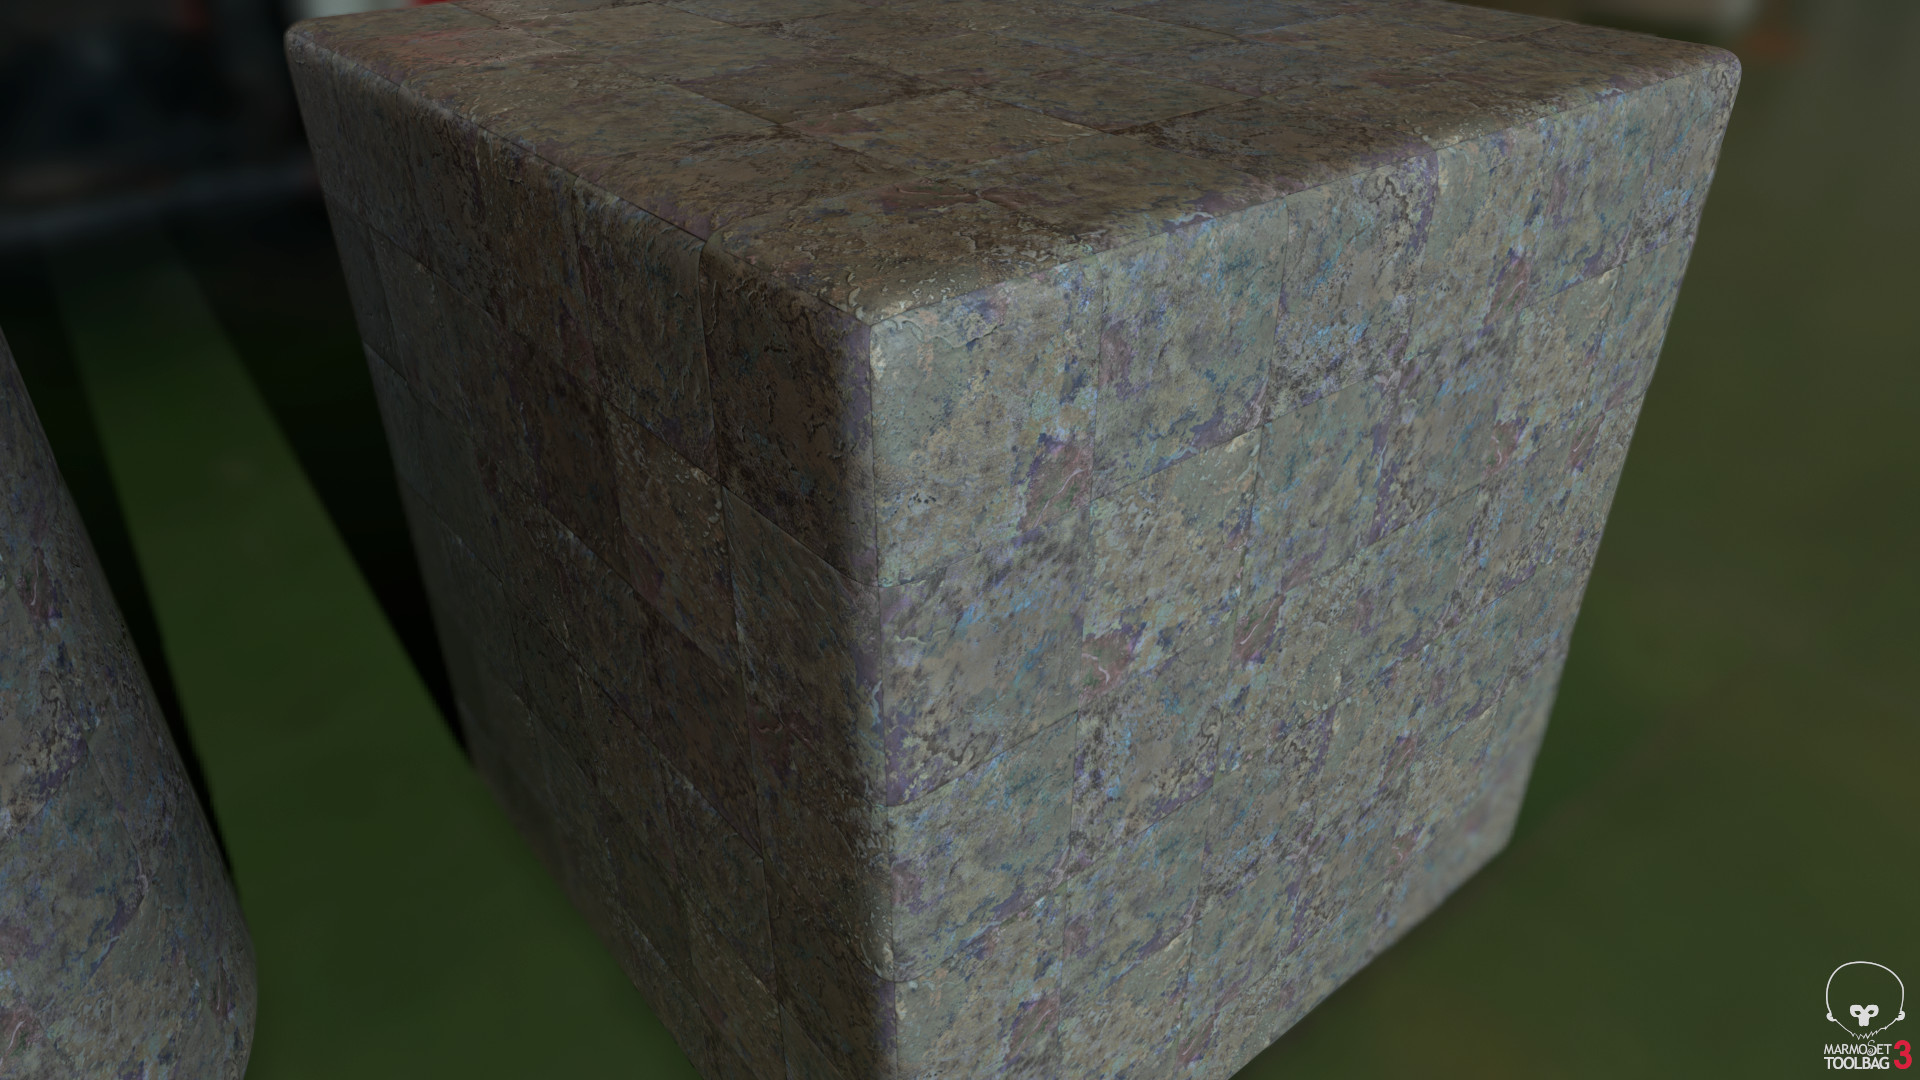
Here's the grid tiled 2x
Porcelain tile floor tiled 2X