A little while ago I was contacted by HP to see if I was interested in being part of their beta testing group for the new HP Z 3D scanner. The Scanner sits on top of your monitor similar to a webcam but faces down to your desk below which becomes your capture area. Check out the their video to see how it works https://www.youtube.com/watch?v=oBO-0LC1nNM
The setup is pretty painless, just plug it in like a webcam and install the software to get up and running. Being experienced with traditional photogrammetry workflows and my recent surface scanning projects i was interested in seeing how this would work, and it worked pretty much as advertised. The meshes below took about 5-10 min each to scan start to finish, way faster then shooting a series of images and then processing.
What you gain in speed you lose some in resolution which is understandable. The meshes aren't as detailed as something as I would generate out of Photoscan but the software has Allegorithmic's B2M integrated to generate normal and roughness maps. For the texturing it has a 14mp camera where it will capture images of the object and map them automatically.
I have to play with it more but overall I'd say it works pretty good. Some objects work better than other and concave meshes seem to work best, this is the same for photogrammetry in general. I was surprised how well it handled thin objects with undercuts (See Sandal below) for constructing the mesh, sometimes though it has a hard time with the texturing of the thin edges. But if you take these meshes as just a starting points to edit your mesh your off to a pretty good start.
All the meshes below are the raw scans and maps rendered in Marmoset. I've included a Marmoset viewer for each so you can see the mesh, maps, and look around the objects.
The football worked really well, almost perfect.

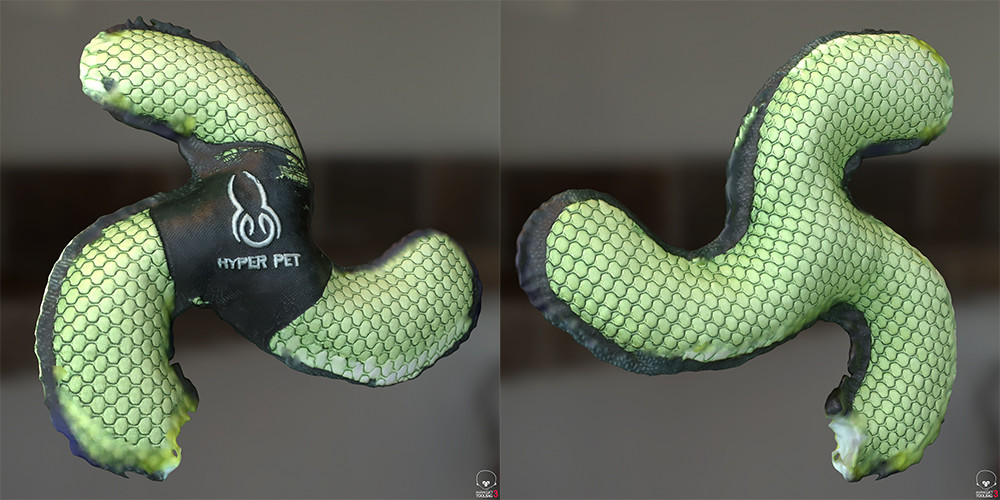
The dog toy also worked really well considering how thin it is. Some of the textures on the thin edges has some issues though.
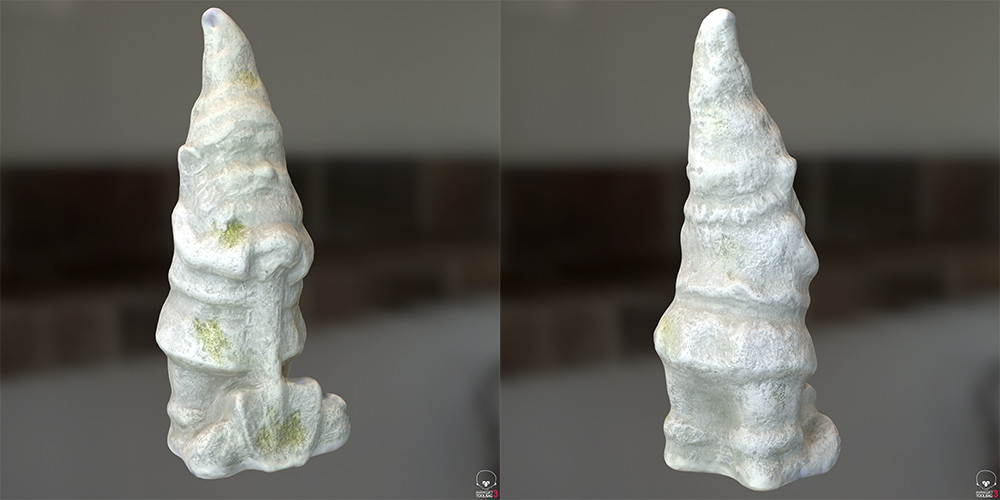
The Gnome also came out practically perfect. I use this statue as a control test in most of my work. You can see what it looks like when processing in photoscan https://www.artstation.com/artwork/lXNXk Pretty similar except in PS I was also baked AO maps from the model.
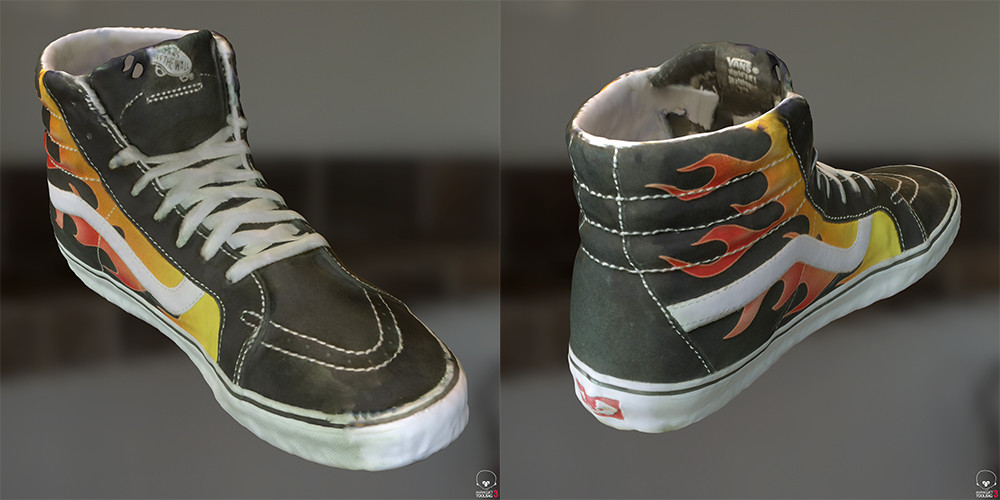
The shoe also did pretty good and handled the thin edges well. The texturing had a hard time in a few spots but not bad overall.
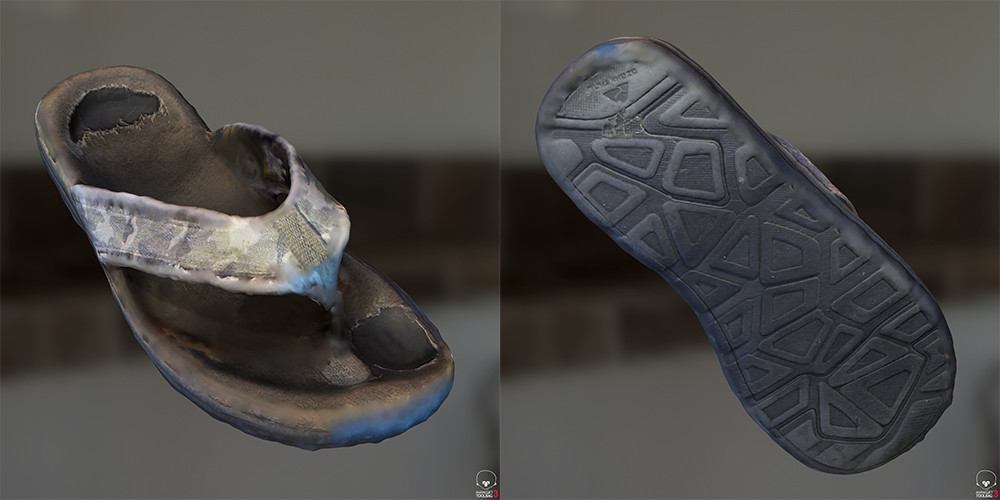
I was surprised how well the Sandal mesh generated as it picked up the full strap above and below. The texturing had some issues though, could have been something I did, but the bottom texture came out pretty good.
That's it for now, I'll update with new scans as they come.
Also I'd like to thank HP for reaching out to me to see if I wanted to play with their new toy :)