Finally I have some real progress to share on the scanner 2.0 build. Now that I had all the pieces designed it was just finding the time to print out all the remaining parts and assemble them. Here are the parts the will makeup the octagon base of the scanner. All the light parts were supposed to be orange but I ran out so 1/2 ended up being silver.

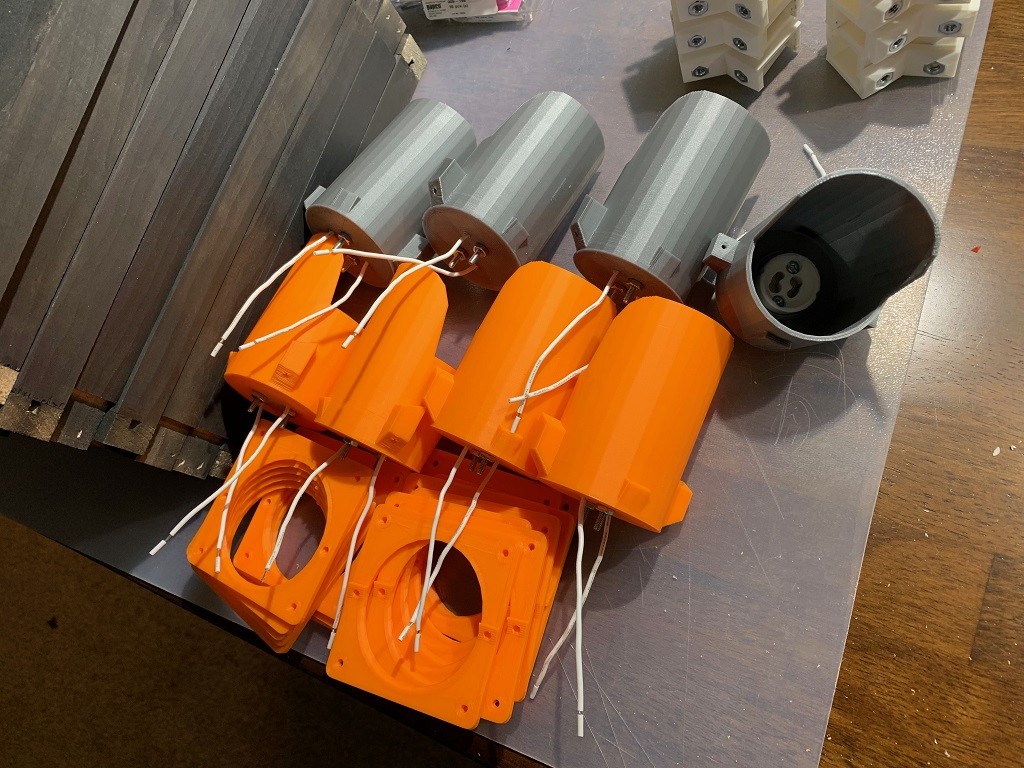
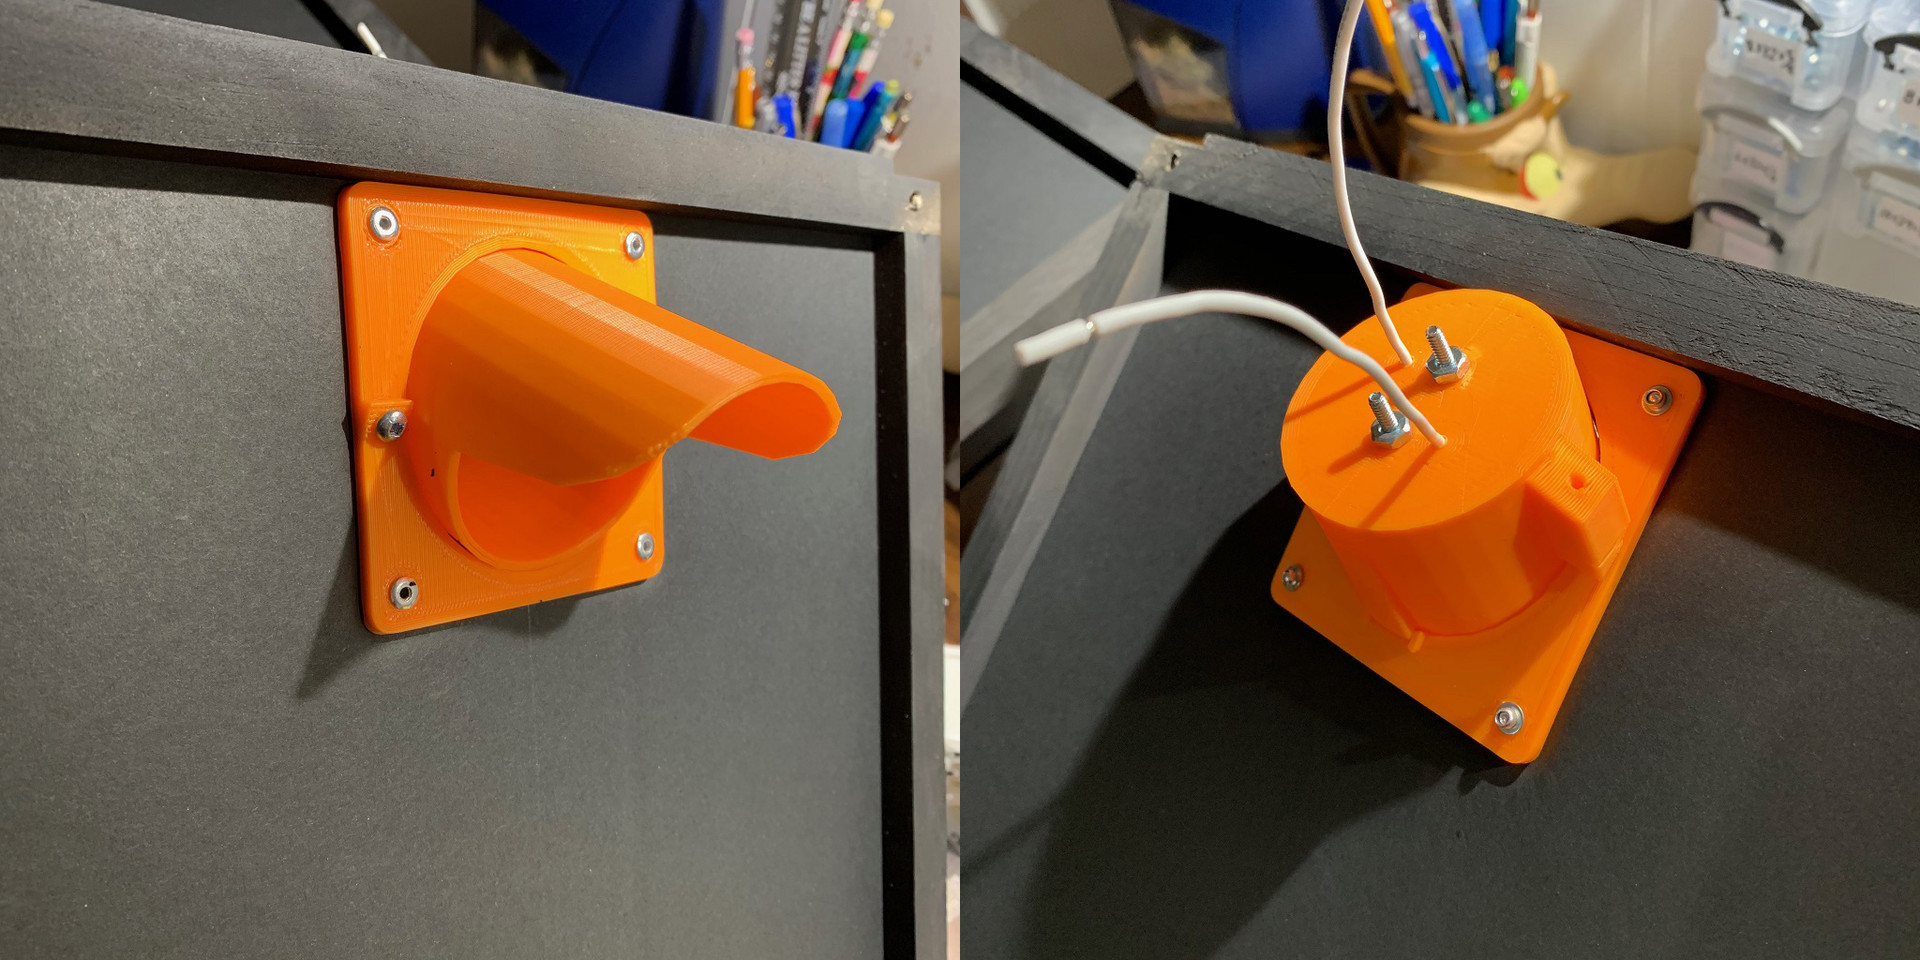
1st step is wiring the lights. This time instead of connecting the wires directly to the bulb I used sockets. This is a little more secure and allows for easily replacing the bulbs. The lights were printed with this in mind so the sockets just need to be inserted and bolted in place.
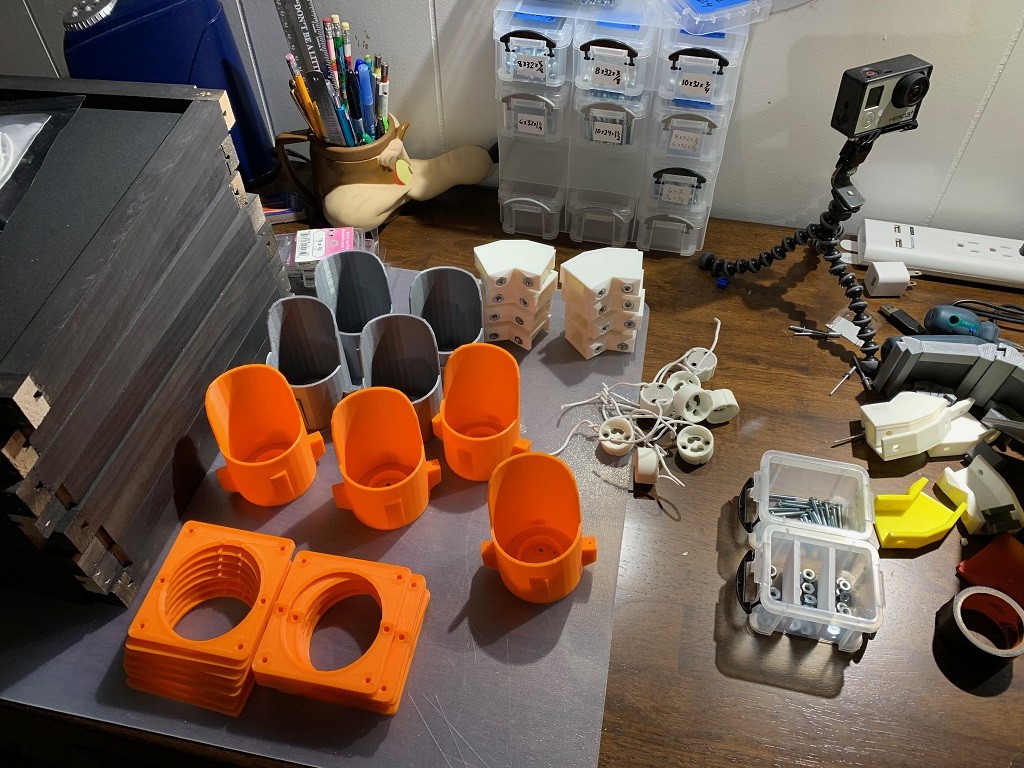
Here all 8 lights with their sockets installed.
Now onto the mounting plates. This consists of 2 plates that sandwich the foam core panel. I went with riveting them in place as rivets are cheaper then nut&bolts and once attached they don’t need to be removed.
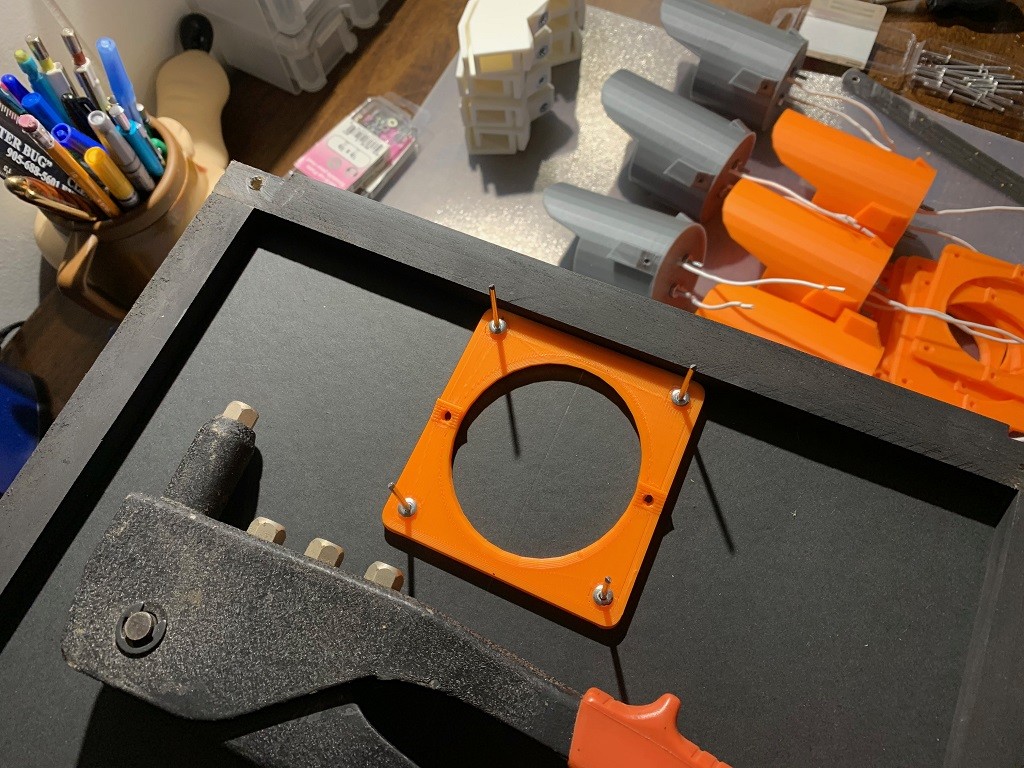
Here’s the final look of the front and back of the panel.
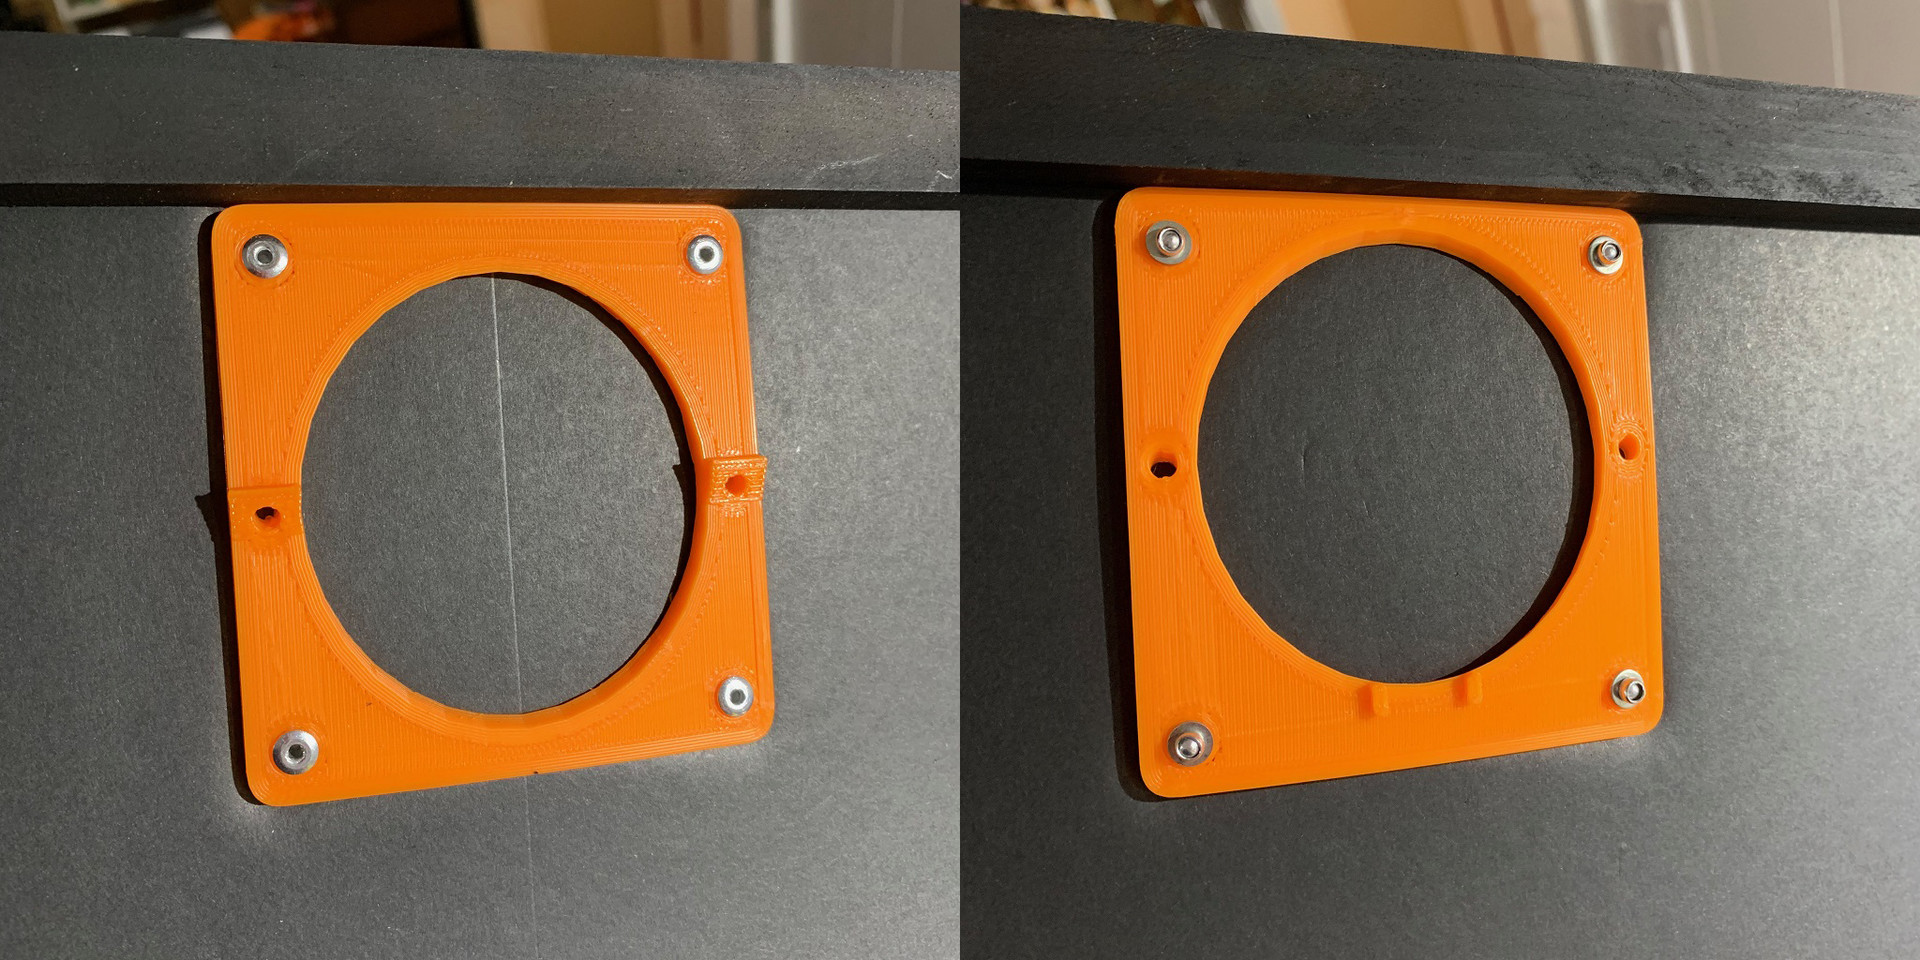
Once the plates are attached the center foam is cut out to allow for the light to be attached. The lights are then screwed to the plates. I may change this to use magnets in the future so it's simpler to assemble and break down.
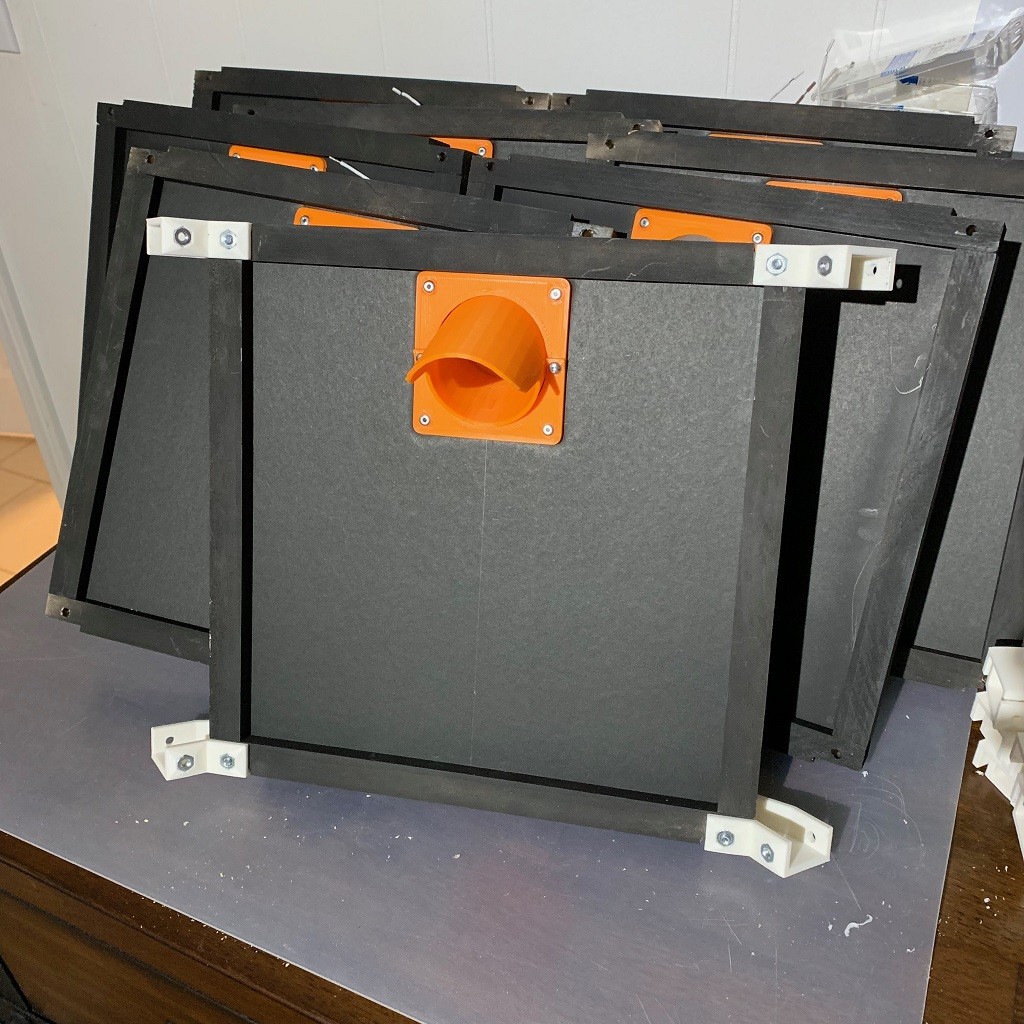
All 8 panels assembled.

Ready to build the octagon. Just need to add the corner brackets to each panel and bolt them together.
And that’s it, one light octagon assembled. Without the riveting it takes about 10 min to assemble the lights and panels.
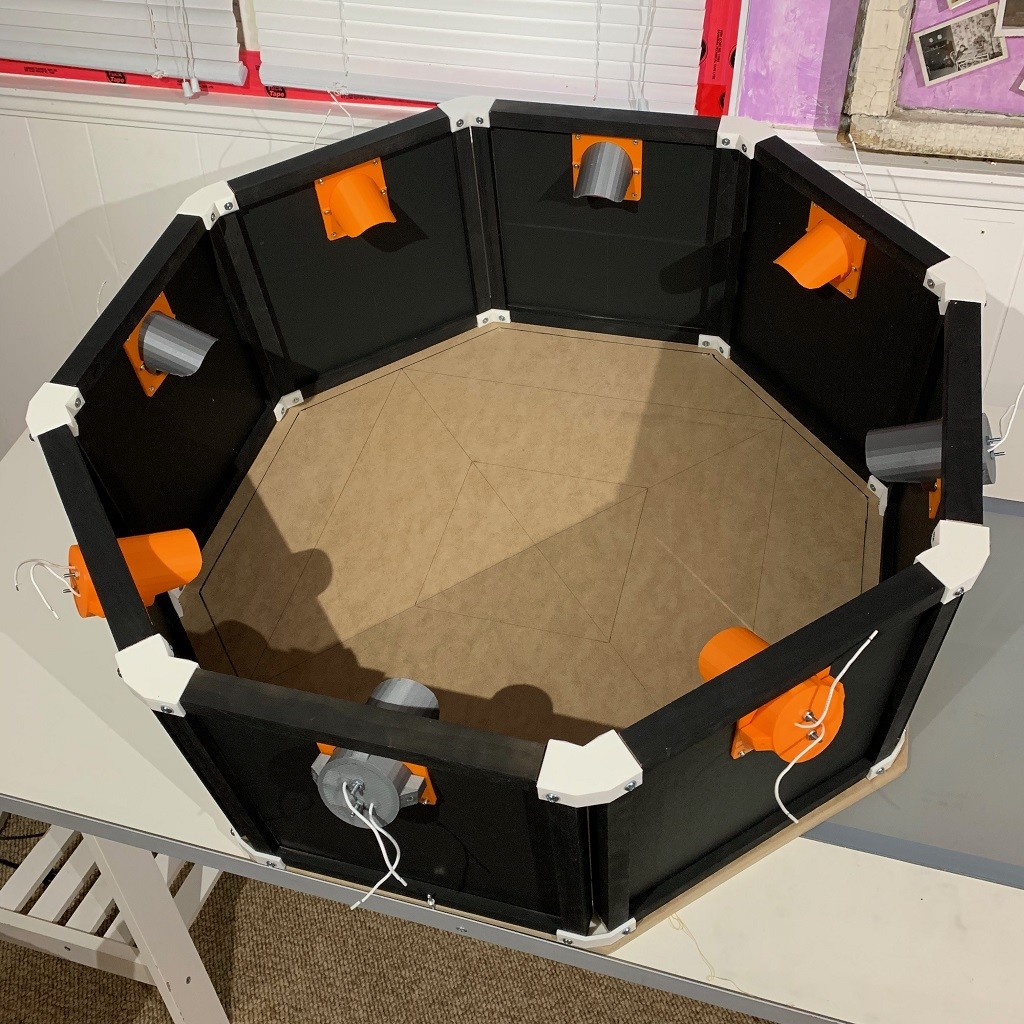
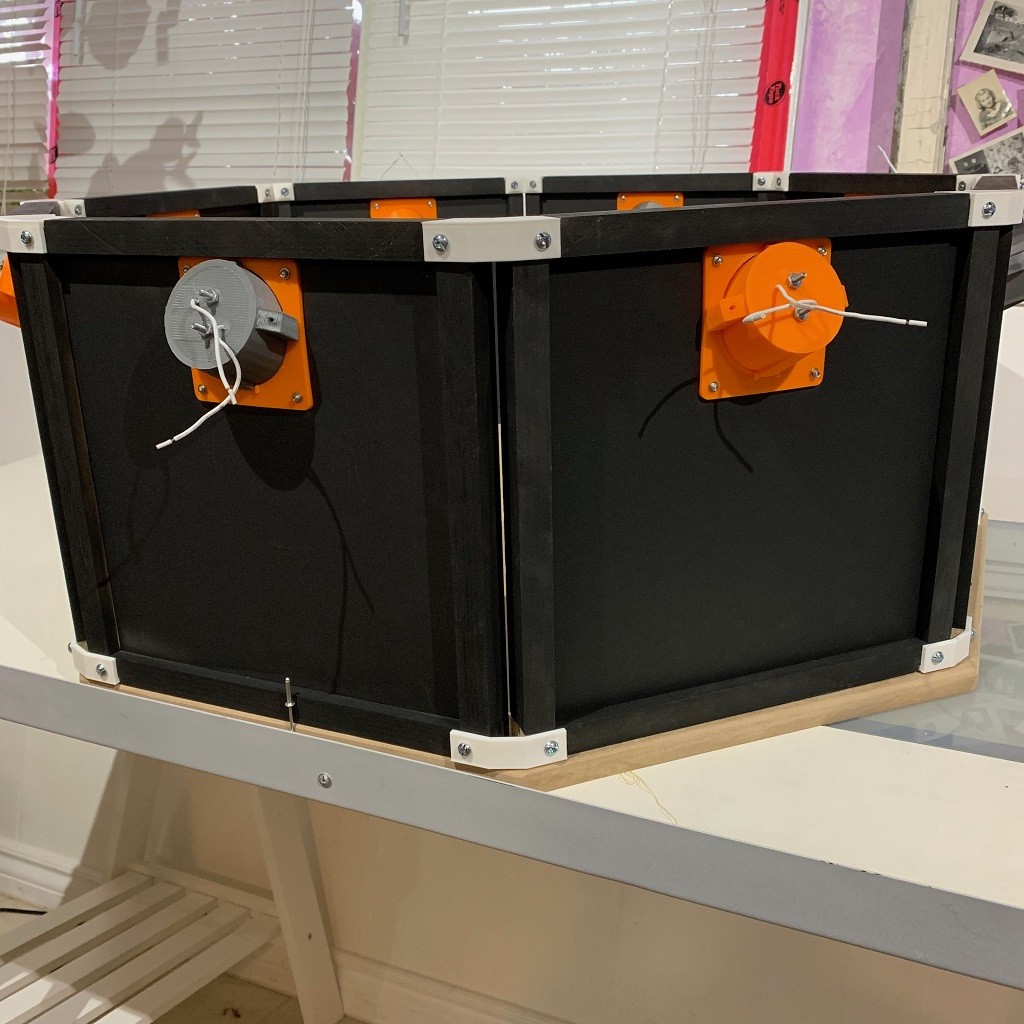
Not sure if I’ll tackle wiring next or the upper section. Wiring should be straight forward but there are 4 more lights in the upper section so may be better to wait and do all the wiring at once. Also need to decide if I’m going to add the polarizing filters to the upper lights.
Well that’s all for now. Sorry for the long delay between posts but designing the parts to be easily replicated and that work with the constraints of 3D printing is a bit complicated. Much harder then slapping together a one off prototype with tape and hot glue 😜
I also need to figure out what to do with the scanner once it’s done. I won’t need two of them. 😗
Thanks for reading and stay tuned. Hopefully I'll be able to work on this more that I think I'm done playing with with my 3D printer. Although I did just get Red Dead Redemption 2 so that may impact things :)
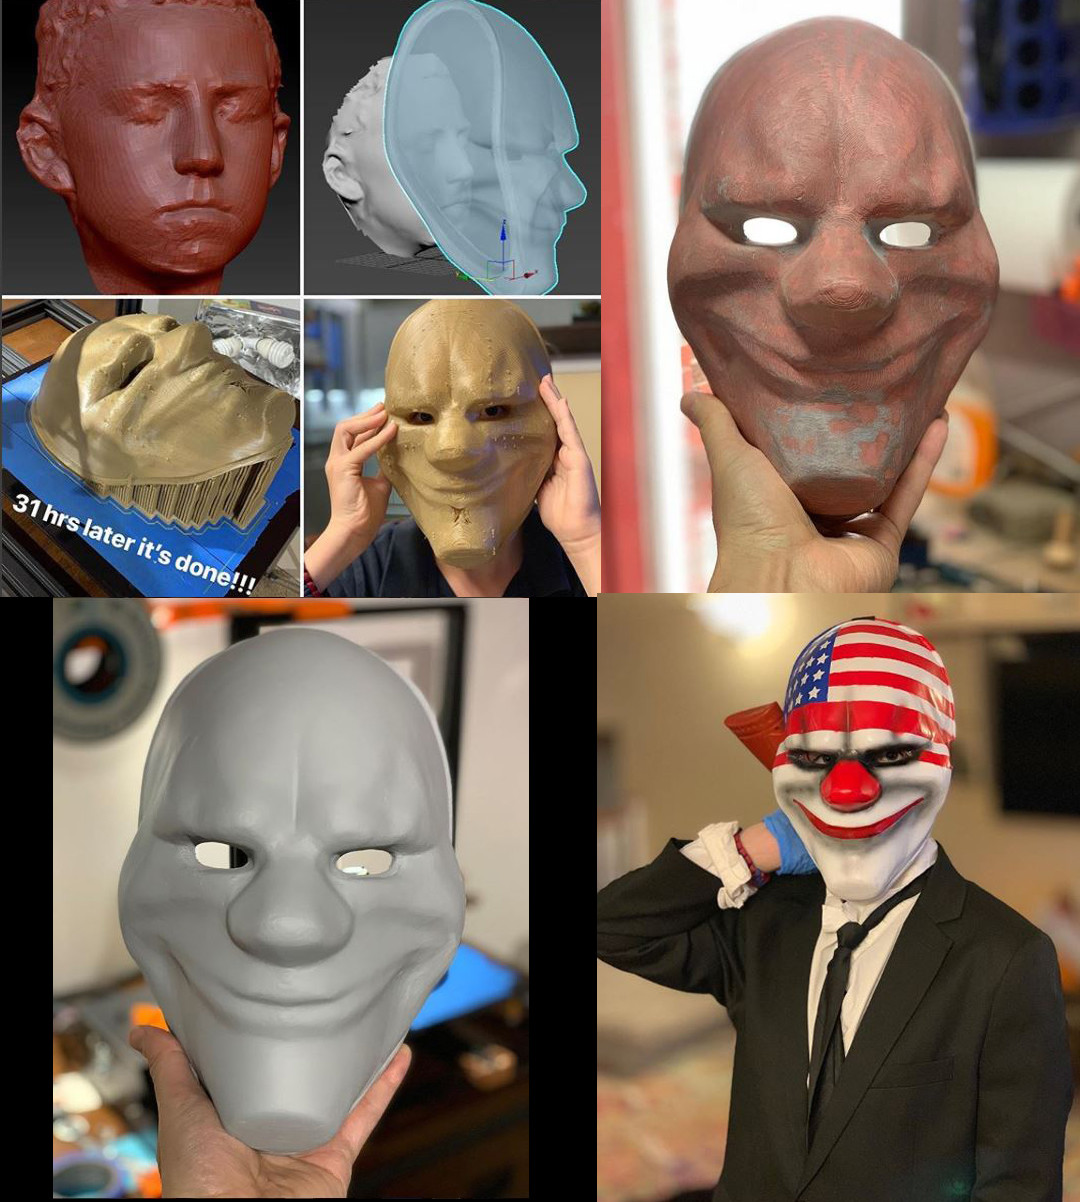
PS. For what delayed me last week, I was making props for my kids Halloween costumes. My son's took the most time as he wanted a mask from PayDay2 so I downloaded a mask someone modeled online, scanned his head so I could scale it properly and printed it out. Then needed to finish it by sanding, fiberglass, glazing putty, and paint.