Here we are at take 2 of the panel design. As I mentioned in my last post the fully 3D printed panel frame wasn't going to be practical so I went with a wood frame. This was actually my original idea for the 1st scanner but making the brackets to connect them was going to be too time consuming, this was pre 3D printer though.
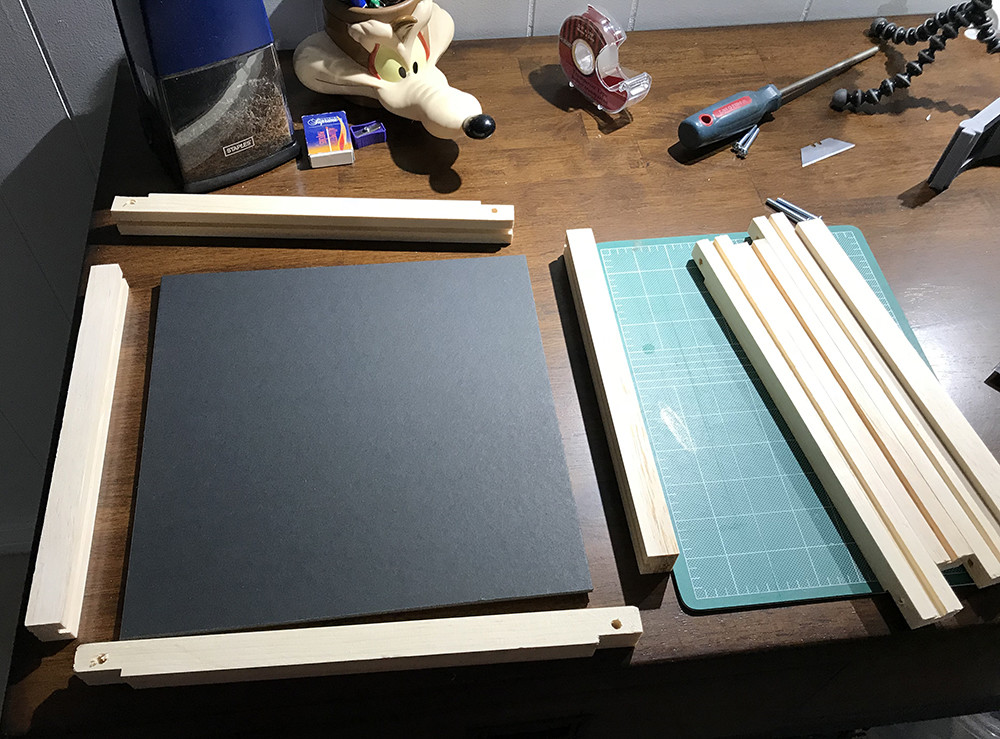
So I started out with a 8x4x3/4 inch board and milled it down into strips for the frame and then cut them to length. After that the slots for the panels were cut into all the strips.
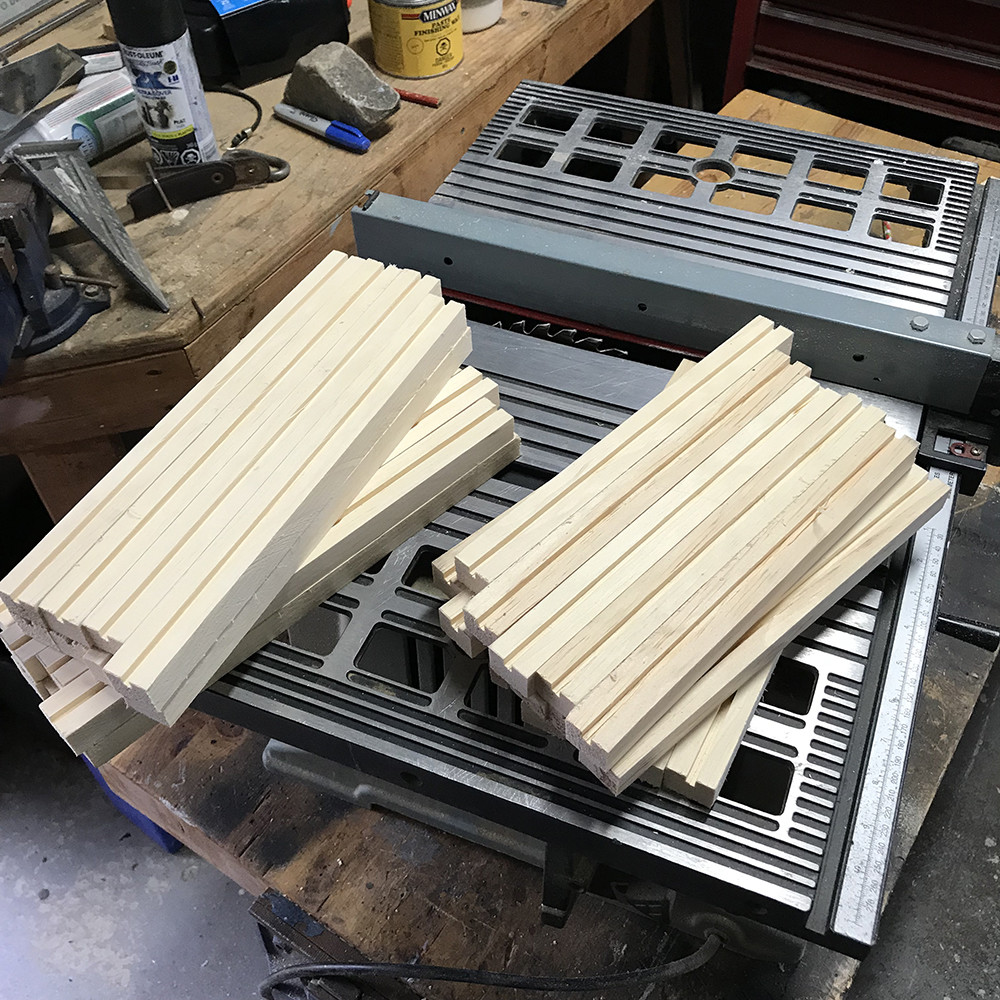
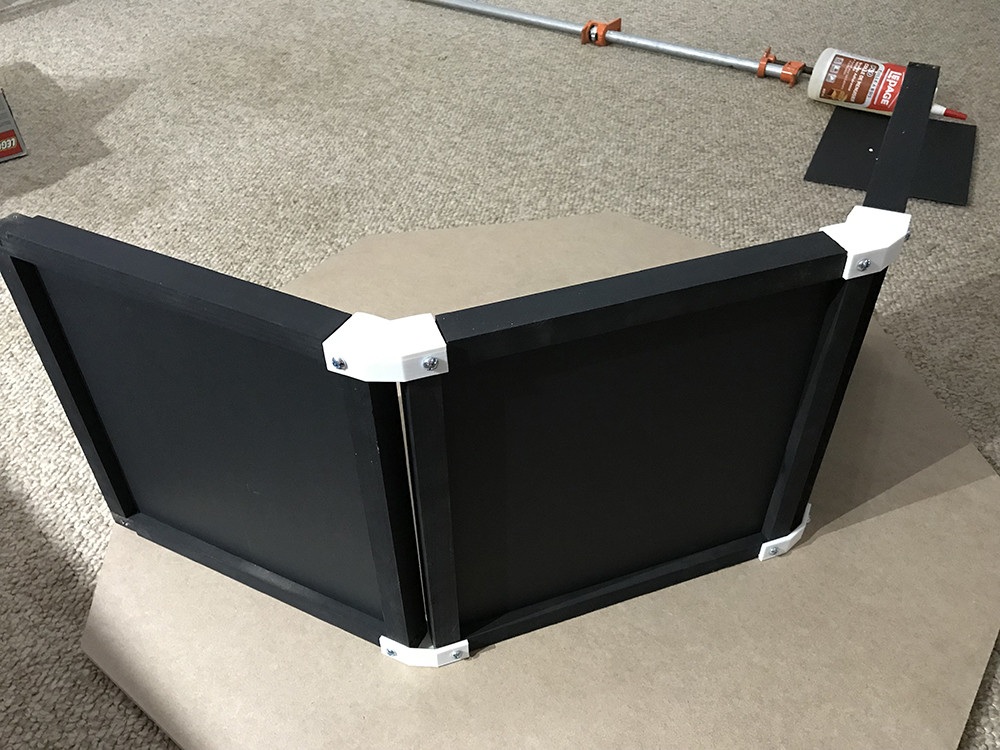
The top and bottom pieces are a bit longer then the sides as they overlap the sides. They also have their ends milled to accept the brackets that hold them all together.
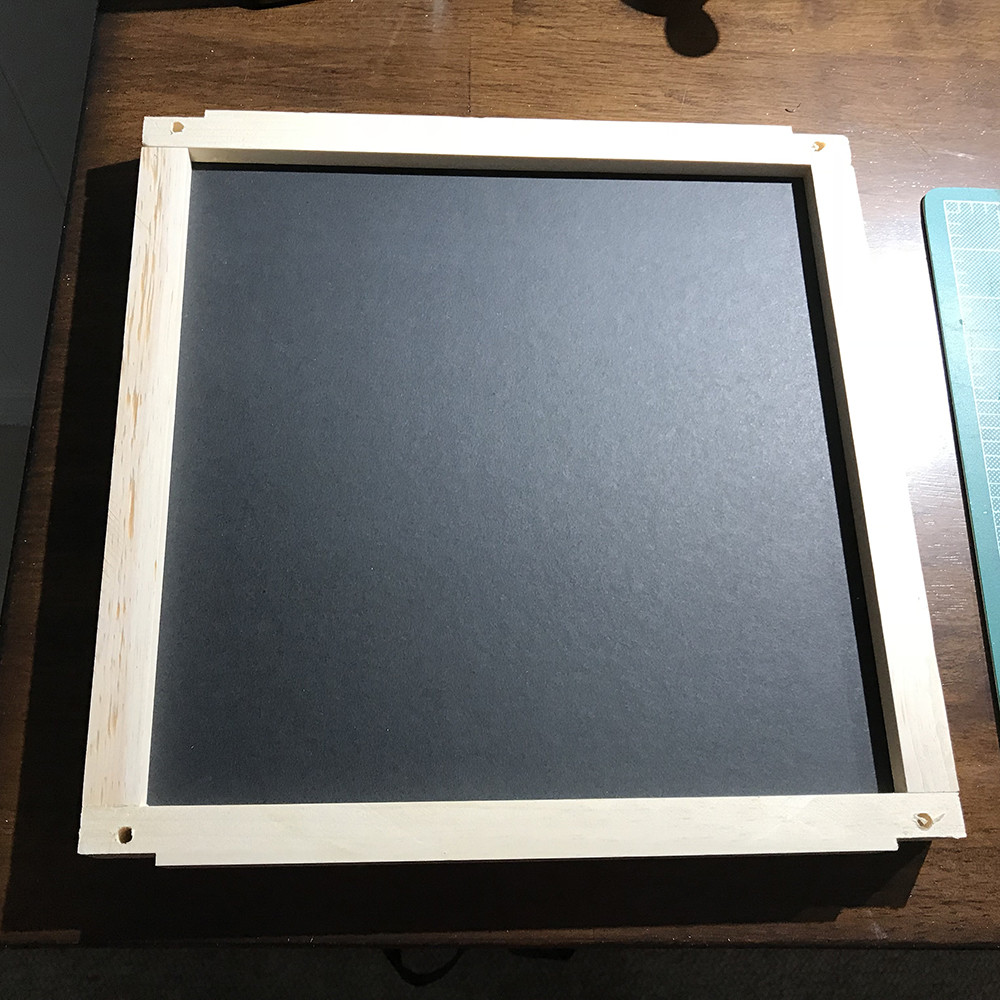
Here's what a panel will look like assembled. The final outer dimensions are still 12x12 inch.
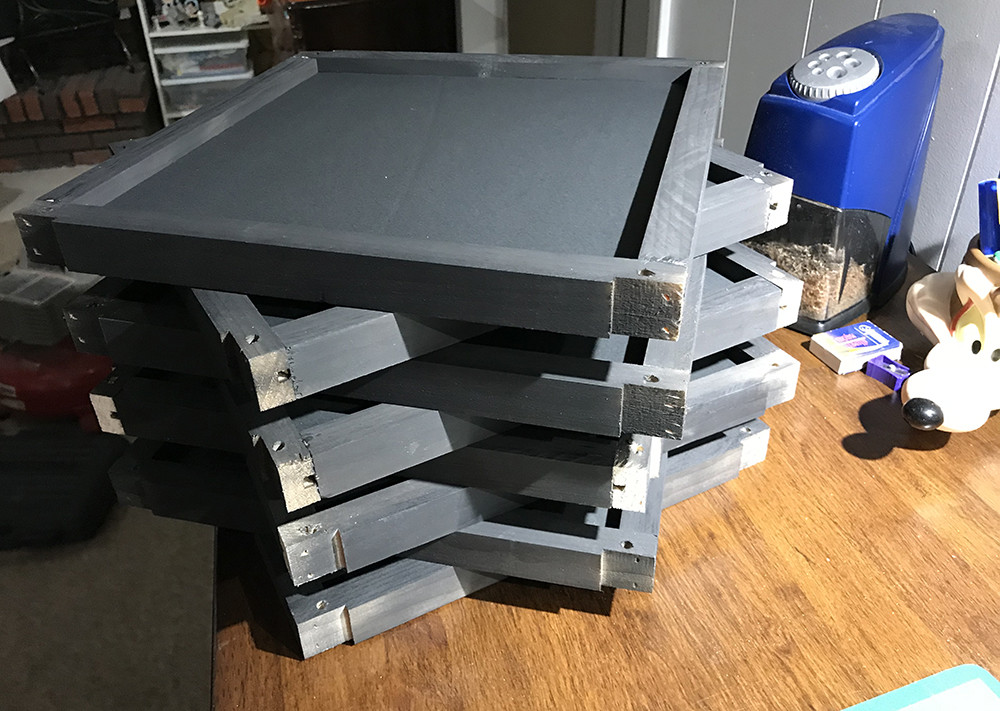
Before assembly all the frame pieces head off to the paint shop for a coat of flat black.

Here's the 8 panels that make up the scanner painted and assembled. Also you can see how little space it takes up when disassembled for shipping to storage.
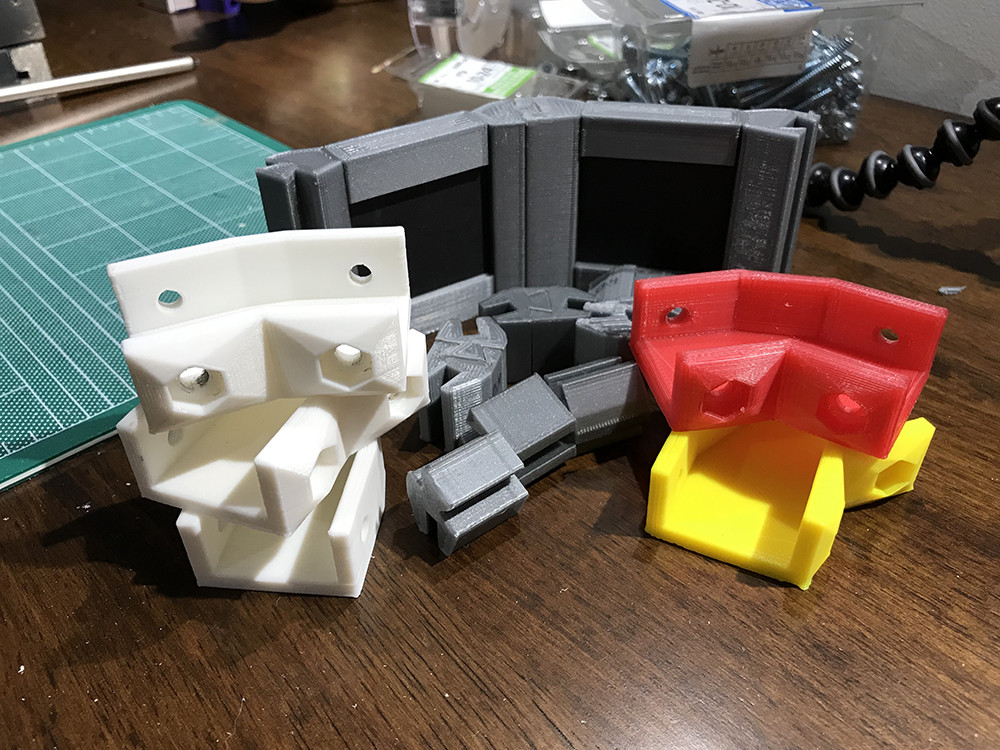
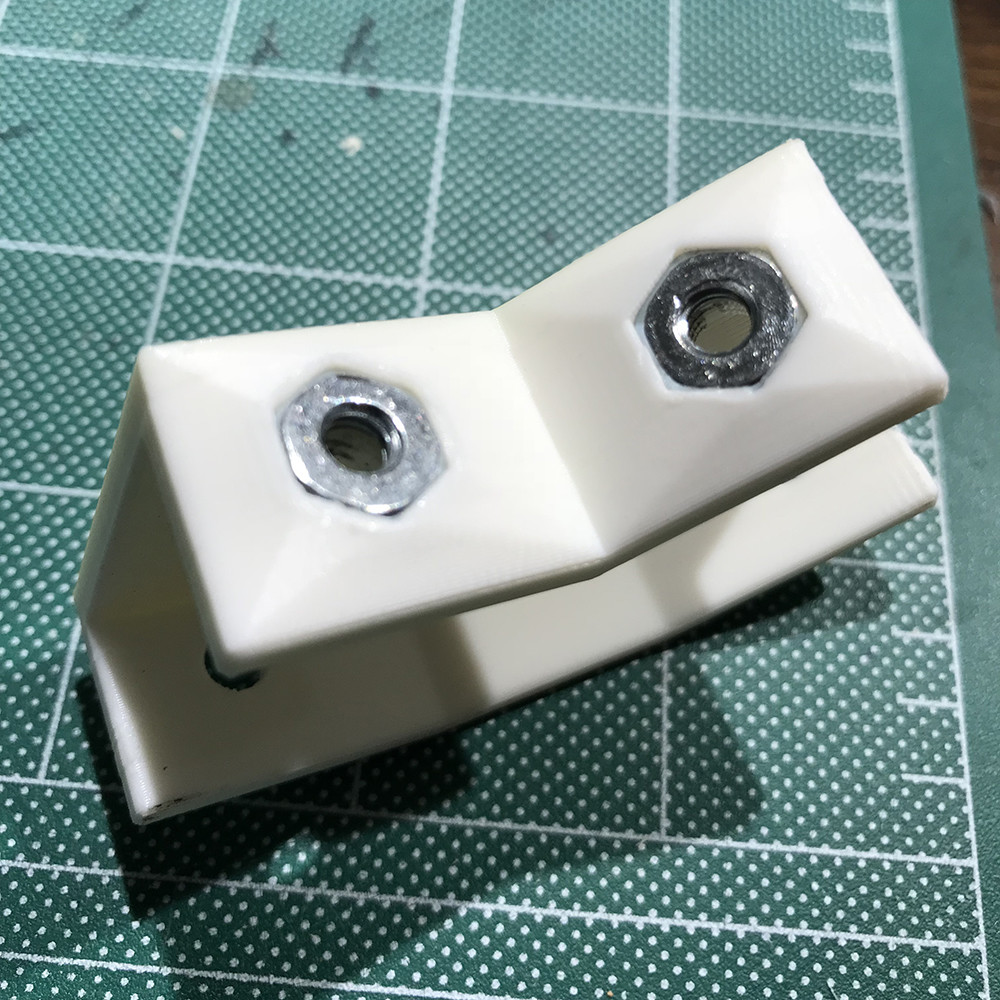
Now onto the brackets. These went though a few designs to get the size right and get the hole for the press fit nuts just the right size. The 3 white brackets were to get to this point, then I realized I had the angle of the bracket wrong, so after fixing that I tried some different colours and the red is PETG plastic instead of PLA, but I ended up just staying with white. So these brackets get added to the R&D cutting room floor.
Fresh batch of brackets coming off the assembly line :) Each bracket takes about 1hr to print so this batch take 6-7 hrs

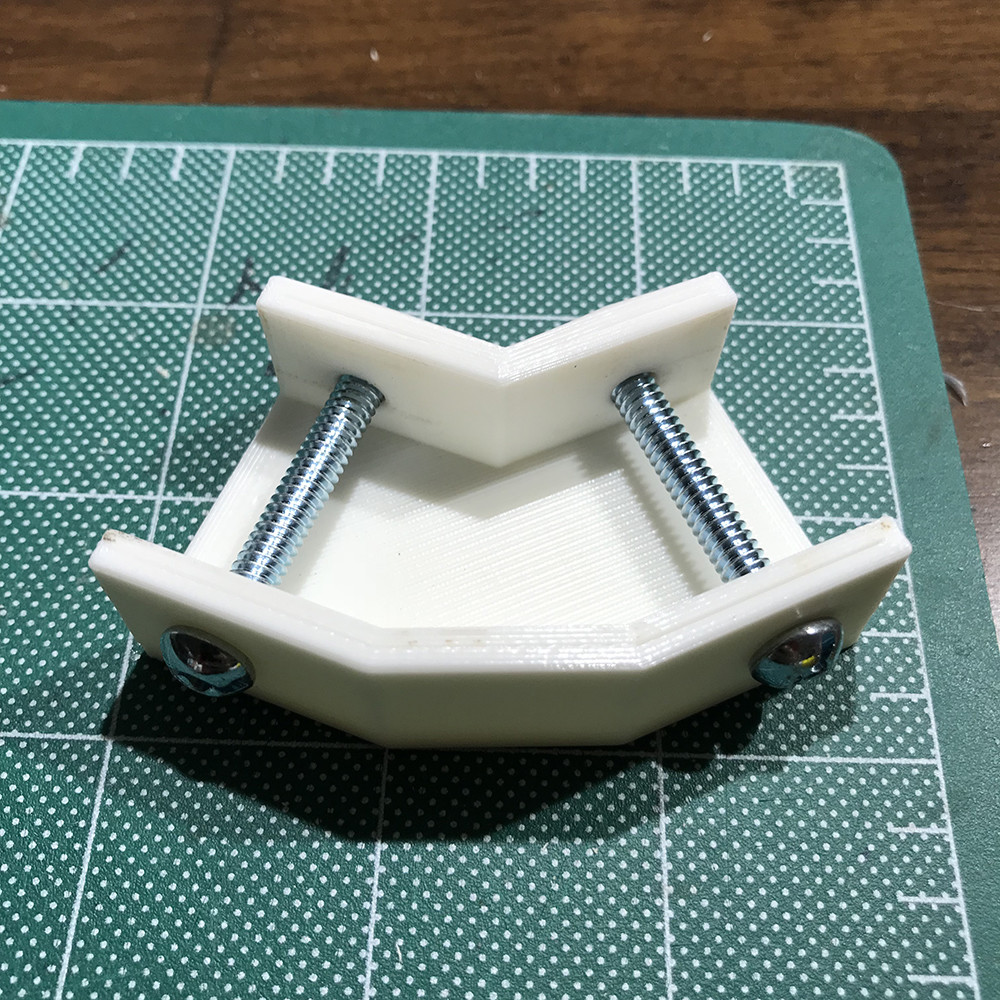
And the few panels assembled.
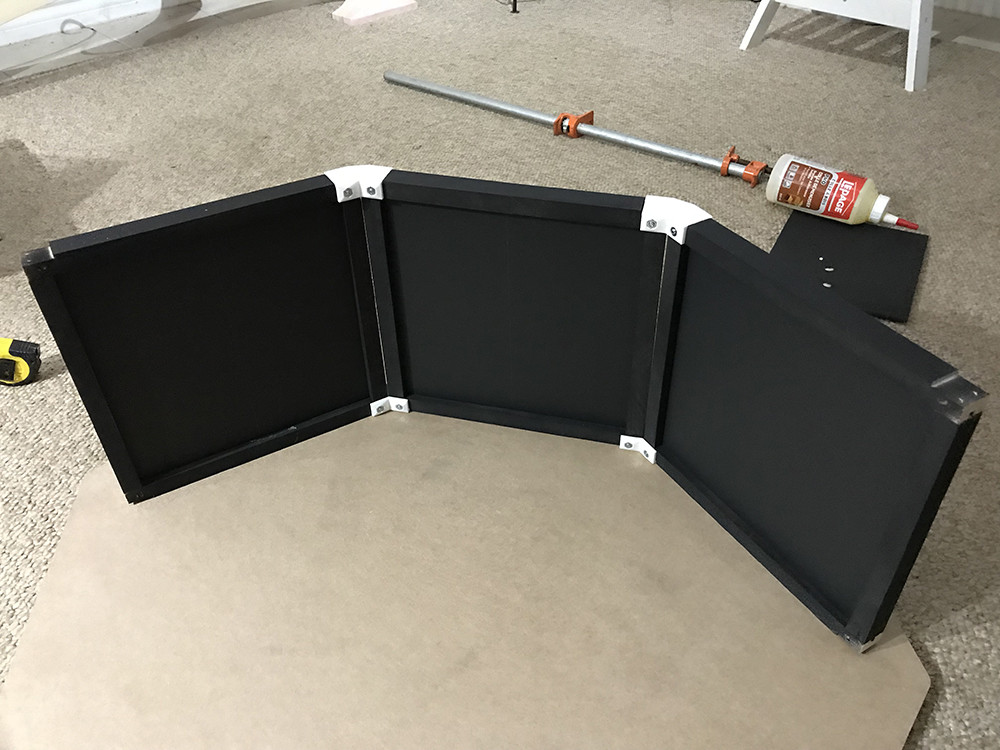
They assemble and break down supper fast. There is a small gap between between the panels that may/may not be a issue in the end but is nothing strip of black tap on the inside can't fix.
Now that the walls are done next is designing a fixture that will hold the lights and mount them on the panels.
Stay tuned and thanks for Reading.